
If you are facing a problem with your internet connection and trying to solve it, then you can try flushing DNS on your Windows 10 computer. DNS caches are files that save information like the IP address and other information on your computer so that the site you want to access opens faster. But sometimes these cache files create a problem if they have stored outdated or wrong information on your computer. If you are one of the users who are facing this problem and want to flush or reset the DNS of your Windows 10 computer, then here is a guide for you.
Steps to Flush DNS on Windows 10
You can Flush DNS either from the Command Prompt or from Windows PowerShell. Methods for both the utilities are discussed below in detail.
Flushing DNS Using Command Prompt
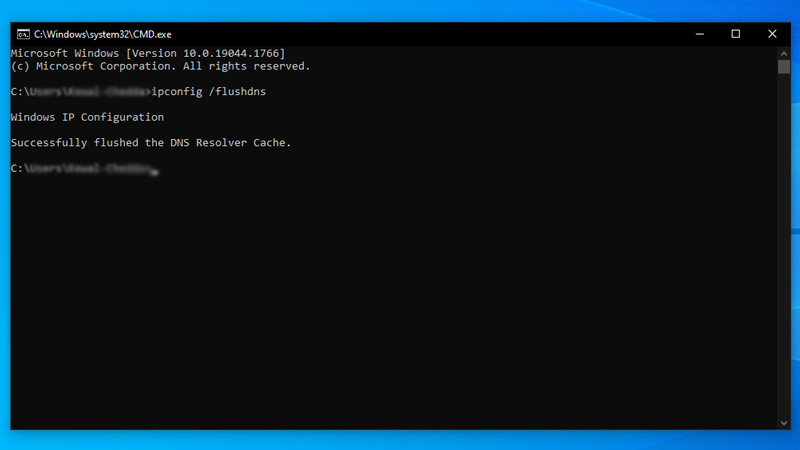
You can flush the DNS from your Windows 10 computer using Command Prompt utility by following this simple workaround:
- First, search “Command Prompt” in the “Start Menu” and choose “Run as Administrator“.
- Here, type “ipconfig /flushdns” without quotes and press the “Enter” key.
With this, you have successfully flushed DNS on your Windows 10 PC.
Flushing DNS Using Windows PowerShell
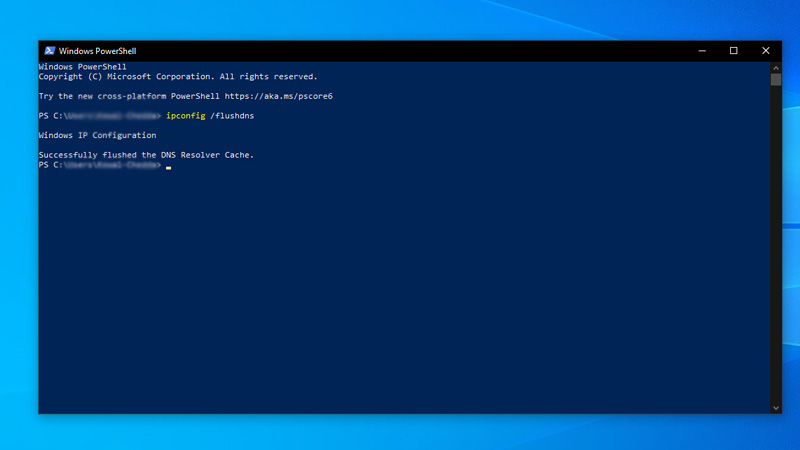
You can flush the DNS cache using Windows PowerShell by following these simple steps:
- Open “Windows PowerShell” on your computer.
- Now type this command “ipconfig /flushdns” without quotes and press “Enter“.
With this, it will clear all the IP addresses and DNS records from your computer and also remove all the old data of the site you want to access.
This is all you need to know on how to flush DNS on your Windows 10 computer. If you want to connect your computer to a router that needs a Media Access Control (MAC) address and you don’t know where to get it then here is a guide on How to Get MAC Address in Windows 10.