
Customization has not always been a privilege for Apple products’ users. There was a time when Apple did not allow customization in their devices, such as iPhone, MacBook, and iPad, at all for many reasons. Things have changed now, luckily, as users can change their device’s interface as per their preference. But not everyone knows how to customize every single thing on their device, right? So, we will help you by showing you how to customize the mouse cursor on Mac.
Where Can You Customize or Change the Mouse Cursor on Mac?
Changing the cursor on your MacBook is extremely easy but first, you should know how to get to the window where you can customize the cursor. Follow the steps mentioned below:
- From the desktop of your Mac, click on the ‘Apple’ icon from the top left corner.
- Next, select ‘System Preferences’.
- The System Preferences menu will open. Here, click on the ‘Accessibility’
- Now, click on ‘Display’ under the ‘Vision’ section in the left pane of the window.
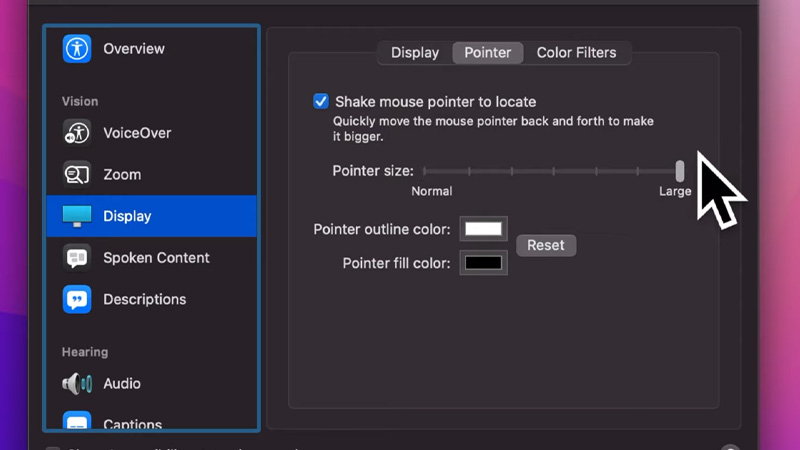
- Click on the ‘Pointer’ tab at the top.
This will open the section where you can customize your cursor on Mac. There are different ways in which you can change your cursor and we have explained them right below.
Steps to Customize Mouse Cursor on Mac
The mouse cursor on your Mac can be customized in three different aspects – its size, border color, and fill color. We have explained below how you can customize the mouse cursor in all these aspects:
- Size: Use the ‘Pointer Size’ bar to either make your mouse’s cursor smaller or bigger.
- Pointer Outline Color: Click on the white rectangular box to get different color options for changing the outline color of your cursor. Simply click on any color from the vast number of options.
- Pointer Fill Color: Again, you can change the fill color of the cursor by clicking on the rectangular box corresponding to this option. You can then select any color of your choice from all the options.
- Reset: If you change your mind and plan on going with the same black and white cursor, press the ‘Reset’ button. This will change the color of the cursor back to what it was.
You can now close the window and your changes will be saved automatically. The new cursor will be available to use now. Also, you can repeat the same steps to change the cursor back to what it used to be before customization.
Once you get your desired customizations applied on your cursor, check out our other guides too: How to Recover Data from Damaged/Broken Mac SSD, and How to Capture Screen using Print Screen on Mac.