An iPad is a Device where you can access any information on the Internet. And like a Canvas, you can draw & write on the iPad with a Pencil. Well, an Apple Pencil to be exact. You can easily use the Apple Pencil like a Stylus and control your iPad. But before that, you will have to set it up. In this guide, I will show you how to set up an Apple Pencil on your iPad.
How to Set up an Apple Pencil on your iPad?

Currently, there are two generations of Apple Pencils, the first & second generations. Both of them are set up differently. Even the type of iPad they connect to also differs. Here is how you can set up both generations of Apple Pencil on your iPad with these easy & simple steps.
- Generation 1:
- Take the Apple Pencil and Pull the Back-Cap.
- It will reveal a Lightning-USB connector.
- Plug it into the iPad and go to your Bluetooth settings on your iPad.
- A confirmation page will pop up stating to confirm Bluetooth Pairing with the Apple Pencil.
- Press Pair and your Apple Pencil are ready to go.
- Generation 2:
- The Apple Pencil 2 has a flat side to it.
- All iPads from 2018 have a black stripe on their side.
- This is for setting up the Apple Pencil 2.
- All you have to do is place the flat side on the black stripe of the iPad.
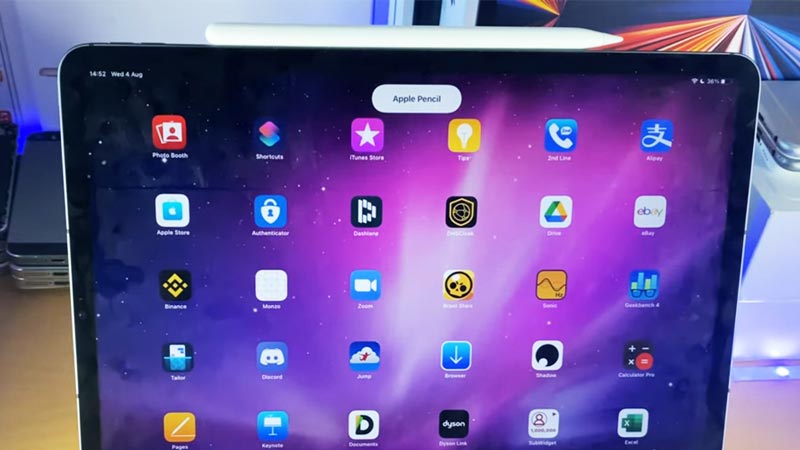
- After a few seconds, a pop-up will appear & your Apple Pencil 2 is ready for use.
If your Apple Pencil is not getting set up on your iPad, then try unplugging & retrying the connection process. Make sure to align the Apple Pencil 2 correctly on your iPad. For the Apple Pencil, just plug the cap back on & then try reconnecting. If neither works then restart your iPad. Make sure Bluetooth is active on your iPad. If that doesn’t work then try the Forget this Device from under My Devices by taping the i icon on the Apple Pencil. Contact Apple Support if none of the Solutions work.
This was all about how to set up an Apple Pencil on your iPad. Hopefully, this guide has helped you. You can also check out our other guides like Apple Pencil Not Working? Here’s How To Fix It.
