
An iPad is a versatile tool when it comes to getting your work done. Be it for presentations, taking notes, viewing videos, gaming, etc. As such, it is easy to leave the screen active. This drains the battery quicker and you may end up charging it more often. If you want to avoid it, you will have to set up the Auto-Lock feature on it. In this guide, I will show you how to Change the Auto-Lock on your iPad.
How to Change the Auto-Lock on your iPad
The Auto-Lock is a feature on your iPad that allows the user to put the device into sleep mode automatically. This occurs by a fixed amount of time of inactivity set by the user. Here are some easy steps on how you can change the Auto-Lock on your iPad.
- Go to your Home Screen & search for your Settings.
- Click it and scroll down till you find Display & Brightness.
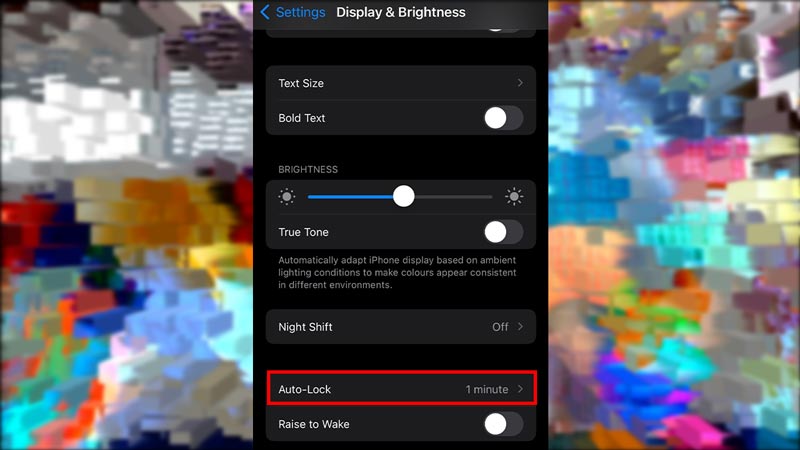
- Open this setting & now you should be able to see an option for Auto-Lock.
- Click on it and it will display 5 options, them being:
- 2 Minutes
- 5 Minutes
- 10 Minutes
- 15 Minutes
- Never
- This is the duration of inactivity that your iPad will go to sleep after the duration has elapsed.
- Select one of them, 2 Minutes is highly recommended, and close Settings.
- Now after the amount of time you have set, your iPad will Auto-Lock itself.
This feature will save a ton of Battery charge for the iPad. An active iPad screen will drain its power very quickly, forcing you to charge every time. 2 Minutes is the best amount of active time before auto-locking it as anything beyond that is way too long.
This was all about how to Change the Auto-Lock on your iPad. Hopefully, this guide has helped you. You can also check out our other guides like How to Set up an Apple Pencil on your iPad?