PS5 as a console offers some really solid titles like God of War, Spider-Man, and more. However, when it comes to the hardware side, one of its biggest shortcomings is its storage. Even though the console shows 825GB, when you download your games you will find that the actual space that you can use is only around 677GB. So if you happen to play larger titles like Call of Duty, you barely have space left for a few other titles. Luckily you can easily upgrade your PS5 to expand its storage by installing an external SSD, and the process to install it is very easy.
How to Add an M.2 SSD to Your PS5
Before you start the installation, make sure to update your PlayStation 5 to the latest system software. Also, make sure you touch any metal-grounded object. This will help by removing any static electricity from your body and will prevent the static from harming your PS5 or the SSD. Finally, grab your SSD and a #1 Phillips or cross-head screwdriver. Thanks to PlayStation Support for their helpful video be sure to also check them out.
For now, here are the steps you need to follow:
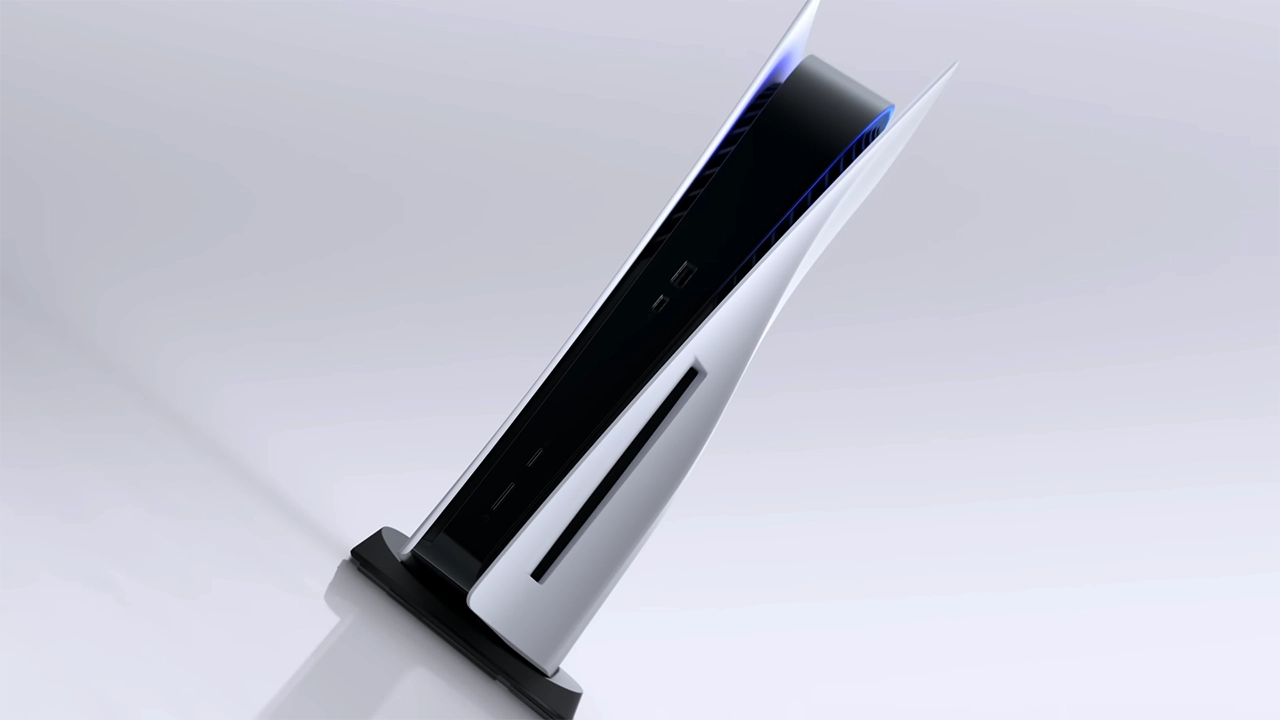
- Flip your PS5 and place it with the PS logo facing down.
- It should be placed in such a way that you can see the backports while the power button is on the opposite side.
- Grab the bottom right and top left corners of the cover and gently lift it up to remove it.
![PS5 Take Off Cover]()
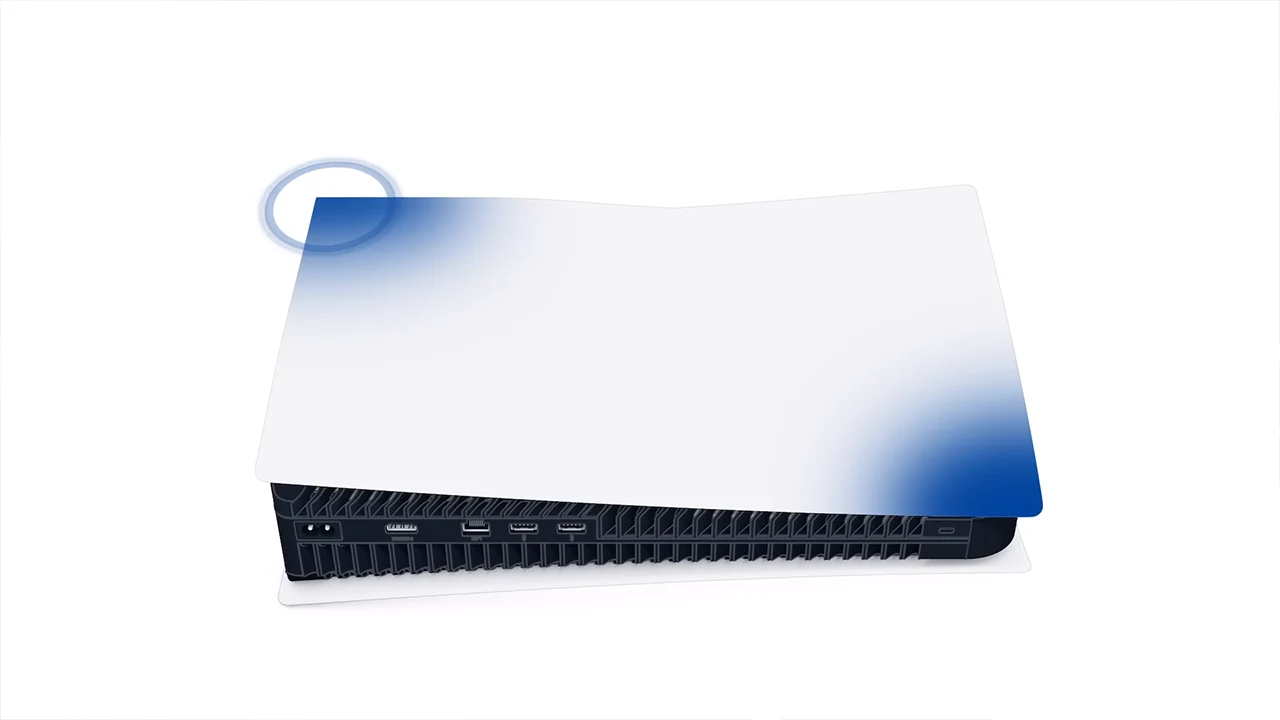
- Next, go to the other side or rotate the console so that the power button is now facing you.
- You can now spot the expansion slot with the white cover.
![Remove SSD Expansion Cover]()
- Unscrew it using your screwdriver.
- Place the cover and its screw on the side. Make sure to handle it carefully so as to not drop it in the fan or misplace it.
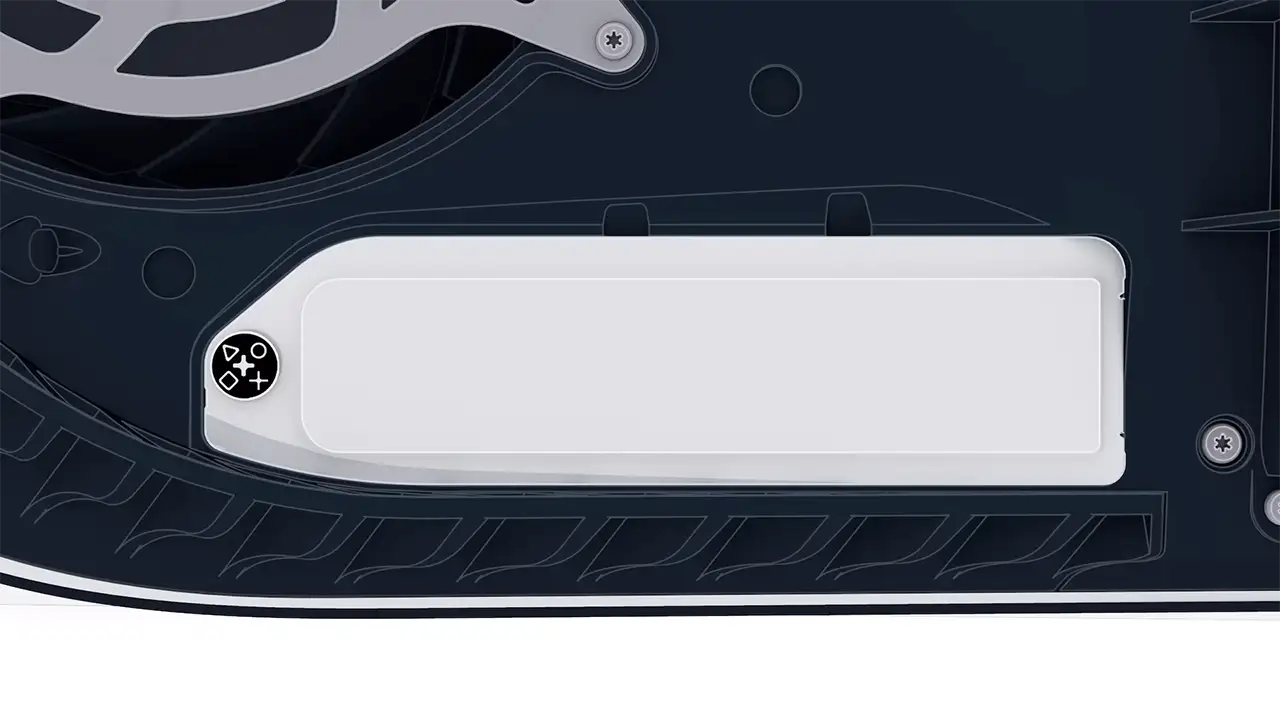
- Next, remove the screw with the spacer. Keep the screw aside.
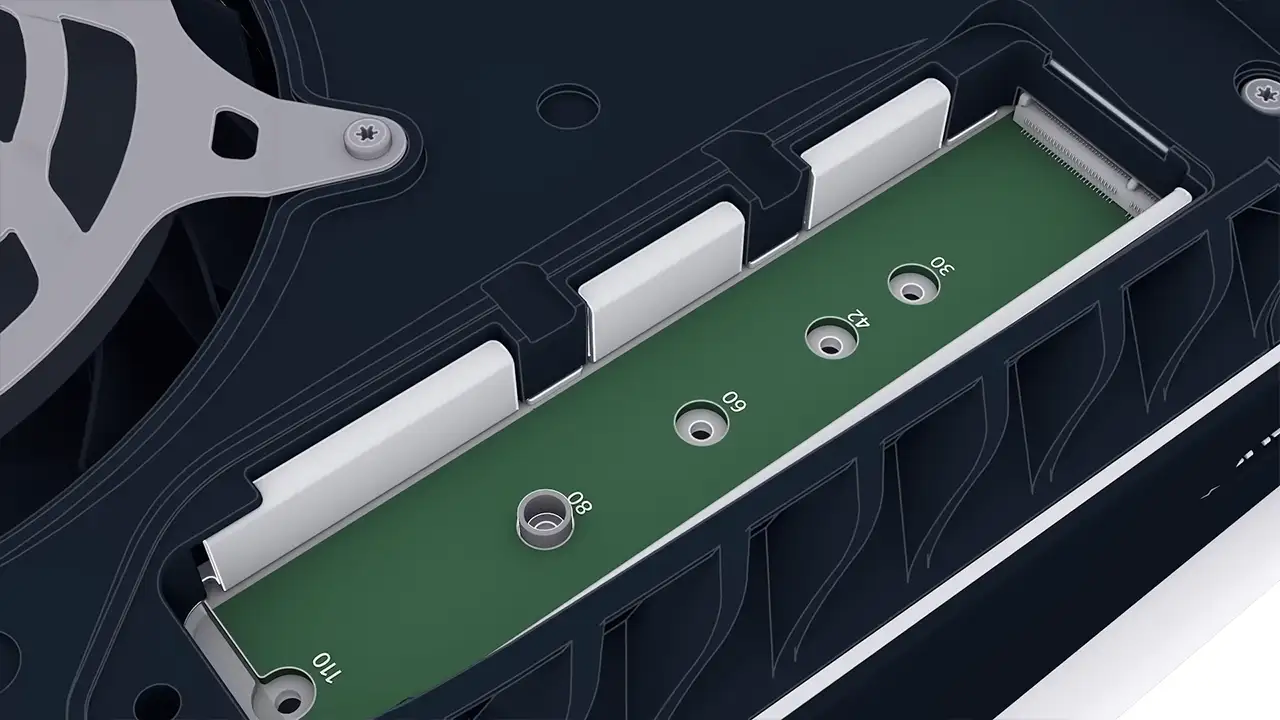
- Place the spacer in one of the 5 slots that match your new SSD.
![Place Spacer In Correct Spot]()
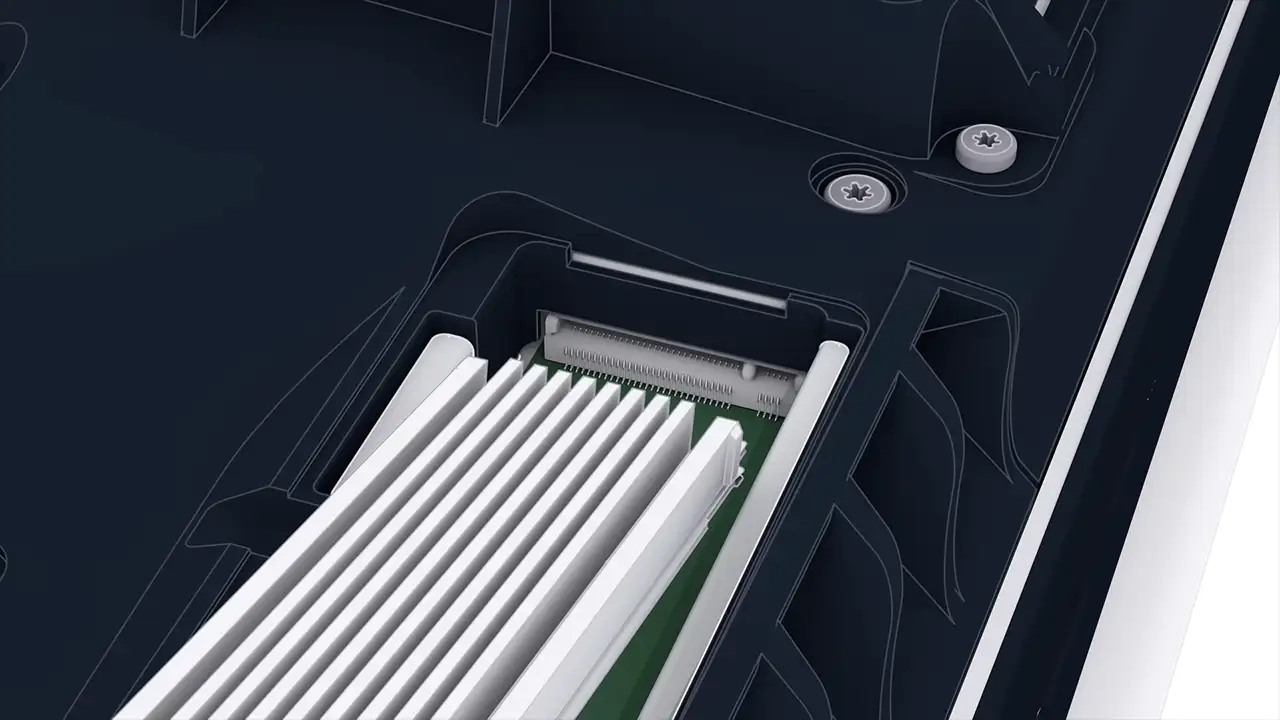
- Now, take your SSD and align it with the terminal notch.
![Insert SSD In The Terminal Notch To Upgrade PS5 And Expand Storage]()
- Insert it and bring your SSD down.
- Now, use the screw you got with the spacer to fasten your newly added SSD.
- Next, take the SSD expansion cover and the screw you kept aside previously and attach to their original position.
- Now, reattach the PS5 cover by sliding it back in. Keep your ear out for the click sound.
- Reattach the cables to restart your PS5.
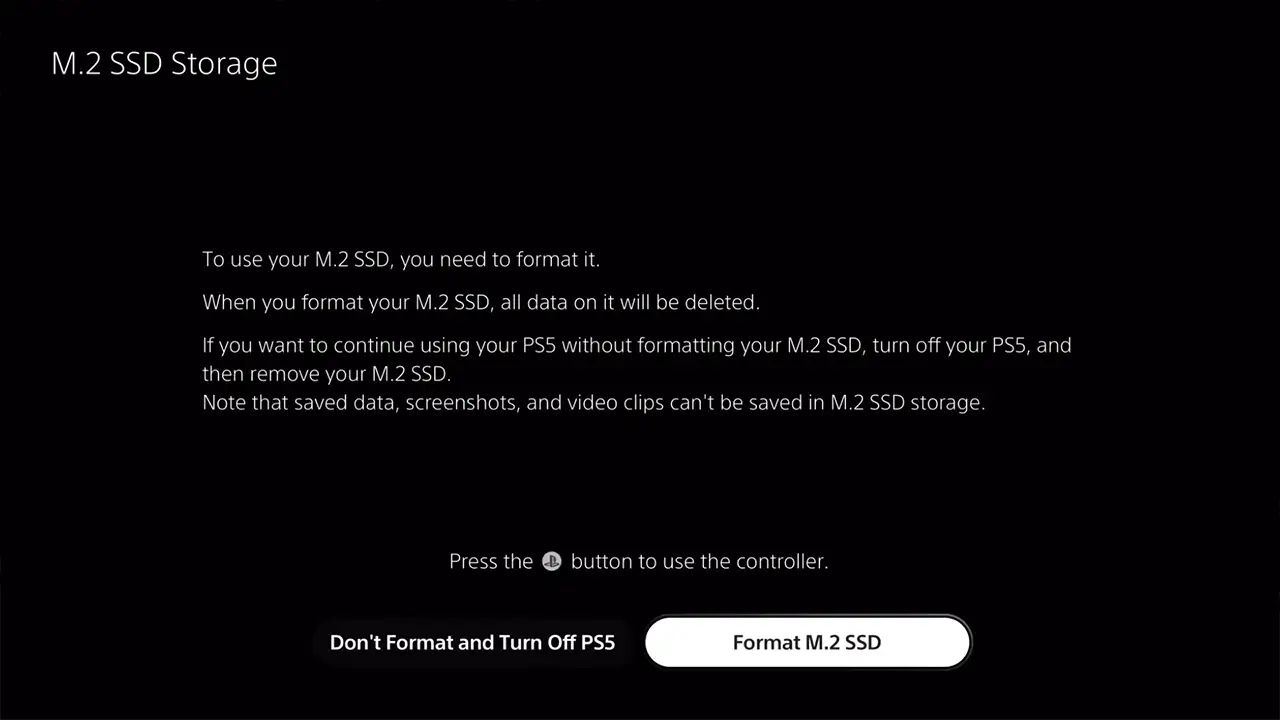
- Finally, format your new SSD and once it is done you will be able to use it.
![Format M.2 SSD]()
PS5 SSD Requirements
Here are the requirements as per PlayStation for the SSDs that you should use with your PS5:
- Interface: PCI-Express Gen4x4 supported M.2 NVMe SSD (Key M)
- Storage space: 250 GB – 8 TB
- Form factor: 2230, 2242, 2260, 2280, 22110
- Size including heat-dissipation mechanism:
- Width: up to 25 mm
- Length: 30/40/60/80/110 mm
- Thickness: up to 11.25 mm (up to 8.0 mm from above the board, up to 2.45 mm from below the board)
- Sequential read speed: 5,500MB/s or faster is recommended
- Socket type: Socket 3 (Key M)
That’s all on how you can upgrade your PS5 with an M.2 SSD. Be sure to also check our Hardware section for more such guides.