Are you looking to install Windows 11 on your unsupported hardware? Well, there is a workaround to bypass TPM 2.0 chip requirement so that you can install the new Windows 11 OS on unsupported computers. The technique works work and it will also allow you to take advantage of the new features in Windows 11. Let us find out how to install Windows 11 on your unsupported PC by bypassing TPM 2.0 requirement below.
Windows 11 TPM 2.0 Bypass – How to Install Windows 11 On Unsupported Computer?
You may get “This PC Can’t Run Windows 11” while trying to install Windows 11 on unsupported devices without TPM 2.0. However, you can bypass the TPM requirement with a simple registry edit, as follows:
If you are getting an error message saying that “This PC Can’t Run Windows 11” when trying to install Windows 11 on unsupported PCs without 2.0, then you can simply try to bypass the TPM requirement with a simple registry edit. Here’s how to do that.
- First of all, press Windows+R key on your keyboard together.
- Once the Run command opens type “Regedit” without quotes and press Enter key.
- After that, you can simply copy and paste this registry key – HKEY_LOCAL_MACHINE\SYSTEM\Setup – in the address bar, or else, you can manually go to the Setup folder.
- Now, you need to right-click on it and create a new key called LabConfig.
- After creating LabConfig key, you need to create two new DWORDS mentioned below along with the values:
BypassTPMCheck – 00000001
BypassSecureBootCheck – 00000001
- Finally, just save the registry editor and close it. Try to install Windows 11 on your PC without any issues.
Simple Trick to Install Windows 11 on Unsupported Hardware and bypass TPM 2.0
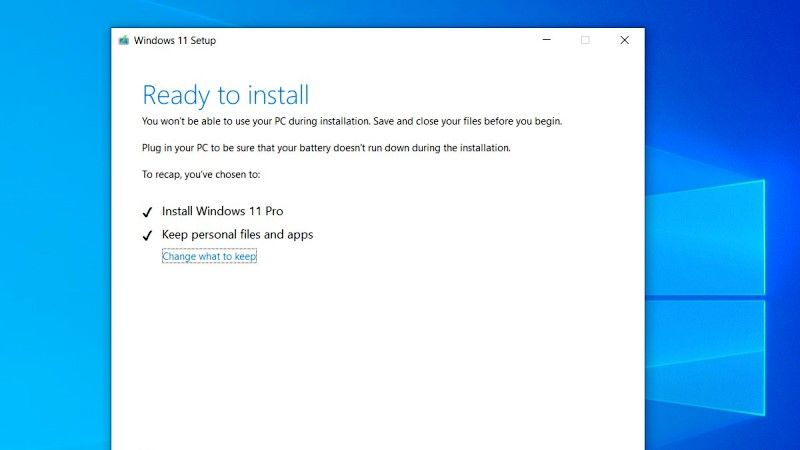
There is a very simple workaround to install Windows 11 on unsupported devices and bypass TPM 2.0 requirements. You just need to create a registry setting called AllowUpgradesWithUnsupportedTPMOrCPU. Once this parameter is set properly, you can easily run Media Creation Tool to create a Windows 11 ISO file. It is then possible to mount the Windows 11 ISO file and run the installed from there to perform the upgrade while keeping the applications and everything else installed. Follow the steps given below.
- On your Windows 10 PC, click on the Search Bar and type Registry Editor, then click on the icon to launch it.
- After that go to HKEY_LOCAL_MACHINE\SYSTEM\Setup\MoSetup registry key and create a new REG_DWORD value named AllowUpgradesWithUnsupportedTPMOrCPU and set it to “1”. When finished, it should look like the below image in the Registry Editor.
![How to Install Windows 11 On Unsupported Hardware]()
- Lastly, restart your PC. Now try to install Windows 11 without the TPM 2.0 requirements on your PC.

That is all you need to know on how to install Windows 11 on unsupported hardware and bypass TPM 2.0. For more Windows 11 tips and tricks, check out our various Windows 11 Guides right now.