Through the Apple Watch, it is very easy to make payments on the move, using the proprietary Apple Pay platform. But how do you make the payment from your smartwatch? And is registering a credit card on the Apple Watch complicated? All you need to do is use Apple Pay and a virtual credit or debit card from a registered bank on your watch for any kind of payment. In this guide, we will tell you how to use Apple Pay on your Apple Watch for making payments.
Apple Watch: How to Pay via Apple Pay

Apple Pay is the Cupertino company’s mobile payment service that can be used both online and in physical stores. In the latter case, you must have an iPhone with NFC, essential to complete the contactless payment process. But the Apple Watch also has the NFC chip inside, and therefore you can easily make payments via Apple Pay even with the old iPhone 5, iPhone 5S, and iPhone 5C. The whole procedure is not complicated at all, but you have to follow some precise steps.
1. Set Up Apple Pay on iPhone
- First, Apple Pay must be set up on your iPhone. To activate the service, you can use the Waller app or access the appropriate screen in Settings.
- Apple offers the ability to save up to 8 credit or debit cards in your account, and all of these must be connected to iTunes.
- The card number can be entered via the virtual keyboard, or even by taking a photo of the card itself.
- From the Apple Pay screen, you can not only consult the latest transactions but also set and deactivate Push Notifications, as well as access a section dedicated exclusively to the credit institution’s contact information, complete with a telephone number for theft/loss and direct link to the native app (if present in the App Store). Furthermore, the return and automatic updating of the expiration date of the cards is natively supported.
Now that Apple Pay is set up on the iPhone, you can set it up properly on the Apple Watch too. As with the iPhone, it is also possible to save a maximum of 8 credit or debit cards on the Apple smartwatch.
2. Using Apple Pay on Apple Watch
- To add a new credit card to be used for Apple Pay payments via the Apple Watch, open the Apple Watch companion app.
- Then choose the “Apple Watch” tab, tap on “Wallet & Apple Pay” and then “Add credit card”.
- If you intend to use a credit card that has already been saved in the iPhone memory, then the system will only ask for the security code (these are the 3 digits on the back of the card).
- If, on the other hand, you want to add a completely new card, then touch the “Insert a different credit card” option and fill in the appropriate fields. Alternatively, the iPhone offers us the possibility of taking a photo of the card itself, so as to automatically obtain all the essential data for the payment.
- Once the operation is complete, the Apple Watch will verify that the data is correct and will try to activate the card. If there are any problems, then you need to enter your credit card details again.
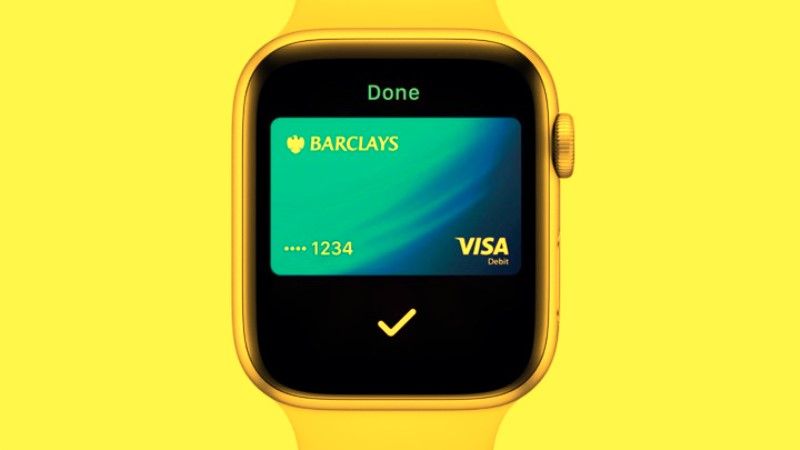
- If you are in a store enabled for contactless payments, then you can try to pay via the Apple Watch. At the moment of the receipt, just raise your wrist, from the clock screen select the Wallet app, choose the credit card you intend to use, bring the smartwatch close to the NFC reader, and, as soon as the system asks you, press the physical button under the Digital Crown to confirm the payment.
That is all you need to know about how to use Apple Pay on Apple Watch for making payments. For more Apple Watch Tips and Tricks, check out our other guides related to Fixing Charging Issues, and Finding Misplaced Apple Watch.
