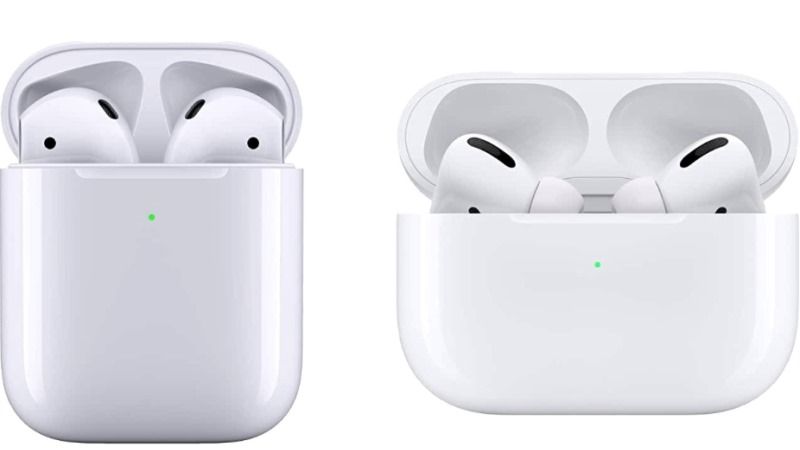
In theory, the AirPods firmware upgrade takes place completely automatically through the iPhone, but sometimes, however, the mechanism does not work. And there are no updates even when AirPods are used with an Android. There is a way though to manually update the firmware of your AirPods. That’s what this guide is all about, as we will tell you in detail below the step-by-step method to update your AirPods firmware with or without iPhone.
How to Update AirPods Firmware With or Without your iPhone (2023)

In general, the user has no control over the AirPods firmware update procedure, as it happens at the times and in the manner when the earbud decides. That’s why Apple decided to work on a software tool that allows you to force update AirPods. The app in question exists, and it is called “AirPods Firmware Updater“, which is part of the suite of diagnostic tools reserved for Apple technicians.
To date, it only supports AirPods Pro and AirPods, but now it also includes support for the second-generation AirPods. It is used to meet people who use AirPods in combination with Android phones (therefore without automatic update routines) and to resolve cases of interrupted or incorrect updates.
For ordinary users, however, the old automatic update method remains. And below we will explain how to use your iPhone to update AirPods & AirPods Pro.
- Make sure you have connected your AirPods to your iPhone.
- Open the Settings app.
- Touch General options.
- Touch About.
- Touch AirPods.
- Look at the entry “Firmware Version”.
- If there is any latest update available, simply leave your AirPods paired with your iPhone, and the Apple smartphone will automatically download and install the latest earbud firmware.
That is all you need to know about how to update your AirPods firmware with or without iPhone. For more AirPods Tips and Tricks, check out our other guides only on our website TechNClub.com: How to Clean your AirPods, How to Connect Two AirPods to iPad.
