Either you want to save a copy of your photos, or just to view your pictures on a big screen, you might want to transfer the files from your iPhone to your Windows PC. Fortunately, there are a few ways by which you can do this task easily. Whether you want to use a USB cable or wirelessly share files on your Windows desktop, this guide has a few tips and tricks to follow.
iPhone: How to Transfer Photos to Windows PC
You can either import photos from your iPhone to your Windows desktop using a compatible USB cable, or you can wirelessly transfer files using the Intel Unison app here’s how you can do it:
1. Transfer photos using a USB cable
This method is simple and fast, but it requires you to connect your devices physically. For this method to work, you need a USB cable compatible with your iPhone and a Windows PC. Also, you need to install iTunes on your Windows desktop and sign in using your Apple ID. After you meet these basic requirements, follow these steps to start transferring photos:
- Firstly, connect your iPhone to your PC using the USB cable.
- If prompted, unlock your iPhone and tap the ‘Trust This Computer’ button on the screen.
- On your PC, open iTunes and click the device icon in the upper-left corner.
- Then click the ‘Photos’ tab in the sidebar and check the box next to the ‘Sync Photos’ option.
- Select a folder from your PC where you want to sync your photos.
- Finally, click the ‘Apply’ button, then click the ‘Sync’ button.
- Your photos will start transferring to your Windows PC.
- To access your photos, go to File Explorer and open the folder you selected.
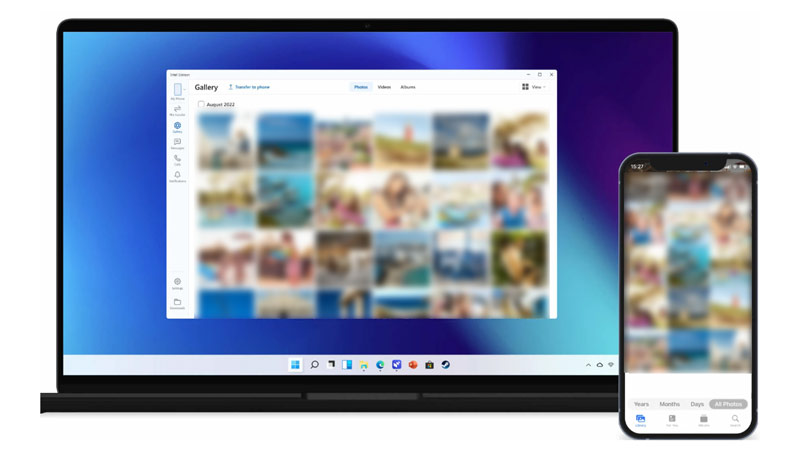
2. Use the Intel Unison app
If you want to transfer photos from your iPhone to Windows desktop wireless, you can do it using the Intel unison app if using a 10th or higher generation Intel CPU. For this method to work you will first need to pair your iPhone with Windows 11 desktop using the Intel unison app. Also, you need to be connected to the same Wi-Fi network or the Bluetooth pairing will keep disconnecting. After you meet the basic requirements of the Intel Unison app, you can start transferring photos to your Windows PC by following these steps:
- On your iPhone, open Intel Unison and tap on the ‘Photos’ tab.
- You will see a list of albums and photos on your iPhone, select the photos you want to transfer by tapping on them.
- Also, you can transfer all the photos on your iPhone by tapping the ‘Select All’ button.
- Then, on your Windows PC, open the Intel Unison app and click the ‘Sync’ tab.
- You will see a list of devices that are connected to Intel Unison.
- Find your device name and click on it.
- You will see a list of folders and files that are available for syncing.
- Select the Photos folder by clicking on it.
- Click the ‘Sync’ button at the bottom of the screen.
- Intel Unison will start transferring your selected photos to your Windows PC.
- Once the transfer is complete, you can access your photos on your Windows PC by opening the ‘Photos’ folder in Intel Unison or in your file explorer.
Those were the few methods by which you could transfer photos from your iPhone to your Windows PC. Also, check out our other guides, such as How to start Windows 10/11 in Safe Mode or How to clear word suggestions on iPhone.