There are times when we want to click a picture with our friends or family but no one is there to take a picture. But Apple has a feature that can prove to be useful in this situation. That feature is a self-timer, yes; you can set a timer and click a picture of yours with others or a solo pick. If you want to set a timer in your camera, then today, in this guide let’s see how it is done.
Steps to Use Timer on iPhone Camera
The Timer feature on iPhone is a very handy feature if you are a solo traveler or in a situation where no one is there to hold your camera. To set a timer on your iPhone camera, it can be done by following the method below.
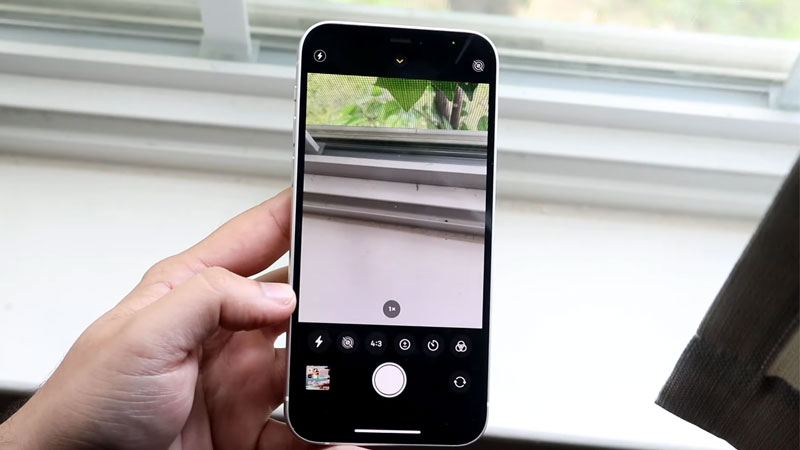
- Open the Camera app.
- Tap the “Up arrow” button located above the black bar.
- Now, in the below bar you will see the “Timer icon”.
- Now set the time of your choice by tapping on the option.
- Now press the shutter button to start the timer and place the phone on a steady platform or a mobile tripod and stand in front of the camera in an appropriate pose.
- Once the timer elapses it will click a set of photos in quick succession. You can review those photos and remove the bad ones.
This is how you can make a memory of yourself by clicking the photos in timer mode when no one is there to help you. If you are using an older iOS version then you just need to open the Camera app and just tap on the timer icon above in the black bar. If it is a very old version then, just swipe the dial above the shutter button till you find the “Timer” written on it.
This is all you need to know about how to set the timer on an iPhone camera. If you want some other shortcut rather than the camera app from your Lock screen then here is a guide on How to remove the camera app from iPhone Lock screen in iOS 15.