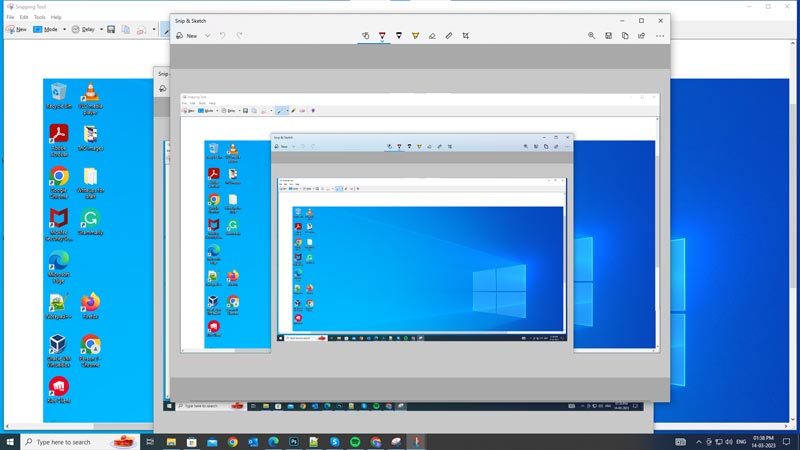
Windows desktop has a feature to take screenshots of your current screen and this feature was improved with every Windows version. The latest Windows 11 has integrated the ‘Snipping Tools’ and the ‘Sketch & Snip’ apps into a single app. This brings all the best features of both software into one app that saves space and time. Hence, to take screenshots using Snipping Tools on your Windows 11 desktop, this guide will help you out.
Windows 11: How to take screenshots using the Snipping Tools (2023)

On Windows 11, you can take screenshots using the snipping tools by following these steps:
- Open the Snipping tool app by pressing the ‘Windows’ + ‘Shift’ + ‘S’ keys on your keyboard. Also, you can search and open it from the Start menu Search box.
- Once you open the Snipping tool app, the screen gets dark.
- You can select any one of these Snipping modes:
- Rectangular snip: This mode lets you capture a rectangular area of your screen. You can do this by dragging your mouse cursor over the area of the screen you want to take the screenshot of.
- Freeform snip: This mode lets you draw any shape on your screen with your mouse cursor and capture it as a screenshot.
- Window snip: This mode lets you capture an active window on your screen. To take a window snip, you will need to click on the window you want to take the snippet of.
- Full-screen snip: This mode lets you capture your entire screen as a screenshot.
How to Annotate, Save and Copy Screenshots using the Snipping Tools
After taking a screenshot, you will see it in the Snipping Tool window. You can Annotate, save, copy, and share the snippet, and you can do this by following these steps:
- To annotate the snippet you can use the ‘Pen’ or ‘Highlighter’ tool.
- You can also use the ‘Eraser’ tool to remove any annotations.
- To save your screenshot, click the ‘Save’ button and choose a location and file name for your image file.
- You can also copy your screenshot to the clipboard by clicking the ‘Copy’ button or share it via email or other apps by clicking the Share button.
That’s everything covered on how to take screenshots using the Snipping tools on Windows 11. Also, check out our other guides, such as How to Print Screen on Windows 11 or How to exit the full screen on Windows 11.
