
The new personalization updates on iOS 17 will bring you more than just stickers or Memoji. You can now set your personalized contact photo using the live stickers feature. It will change how your contact will appear on My Card and gives you a personalized touch. It will also display to the other person who will be calling you. The following guide will take you through how you can use stickers on Contact Photo in the new iOS 17.
How To Put Live Sticker On Contact Photo?
When you set a Contact Photo, it can be seen by the other person having your contact details. To make it look more personalized, you can use live stickers on your iPhone. Follow these steps to do so:
- Firstly, update your phone to the latest version.
- Now, open the Phone App on your device.
- On the top, you will find the My Card option. Click on it.
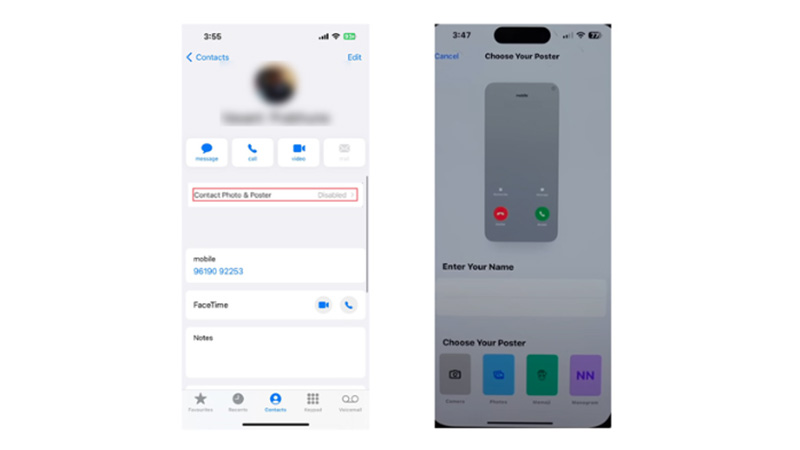
- In it, you will see the ‘Update Contact Photo or Poster‘ option.
- Select it, and then you will have to enable the ‘Name and Photo Sharing’ option.
![Sticker on Contact Photo]()
- After you have enabled it, enter the first name and last name that you want to show as your contact name.
- You can also choose if you want to show it every time to your contact or the iOS will have to ask you every time you call someone.
- Now, there is an option to edit on the top of your first name. Click on that.
- After that there is a ‘+’ sign on the bottom right, click on it to choose to set Contact Photo.
- After selecting the Contact Photo option, a circle will appear on the screen where you can add your personalized photo.
- You can either select your photos from the photos, Memoji, or Monogram, or you can directly take a live image from the camera option. The new live sticker option will appear on the same page.
- Select the live stickers option and add the preferred sticker for the Contact Photo.
- Confirm the selected photo or sticker and then click done.
Finally, your Contact Photo has been set using the stickers and now you can change it whenever you want. There will be a pop-up asking you to use the same image everywhere, so you can select the ‘not now’ option on it. In a similar way, you can also set up your Contact Poster using iOS 17. To know about it in detail read our article on – How to Create & Use Contact Poster on iPhone with iOS 17?