Split-screen is the most effective way to work more efficiently on your Windows 10 computer. Users can use this feature to copy and paste faster and also help them to compare data between multiple pages. This feature can be the best way to perform multiple tasks at a single time on your Windows 10 computer. If you want to divide your screen into multiple tabs then here is a guide on how to split screen on Windows 10 to help you.
Steps to Split Screen in Windows 10
You can divide your computer’s screen into multiple tabs by using two methods, first using a keyboard shortcut and second using your cursor. Both the methods are discussed below in detail.
Using Split Screen from your Desktop Screen
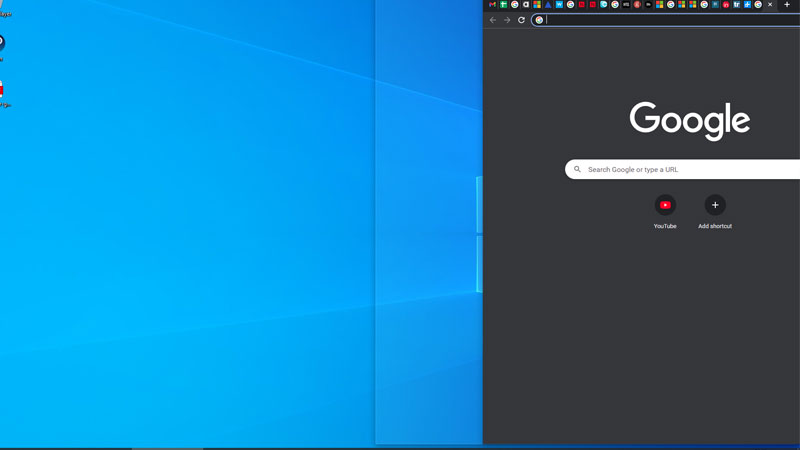
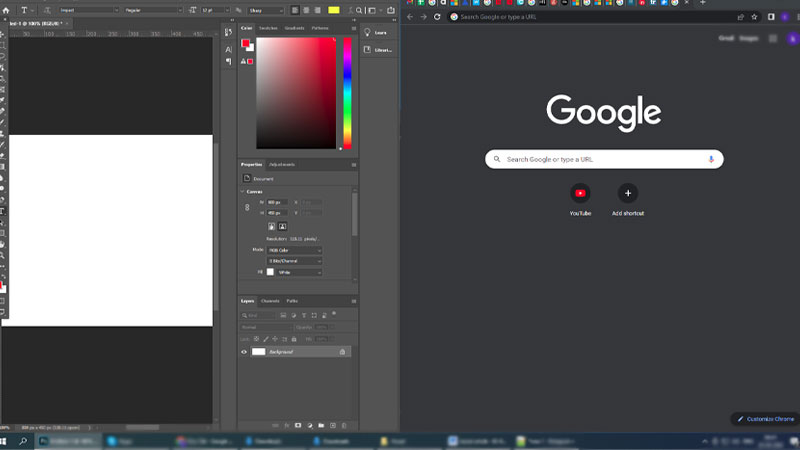
The easiest way to split your computer screen is by simply opening one tab and then simply clicking on the top of the tab and then dragging the tab to the end of your screen. This will trigger a partition on your main screen. If you release the tab it will automatically set itself in that part of the screen. In the other half, you can see the list of recently opened tabs or the task open on your taskbar, now you can select the other app and this will cover the other half of the screen.
Splitting Screen With Keyboard
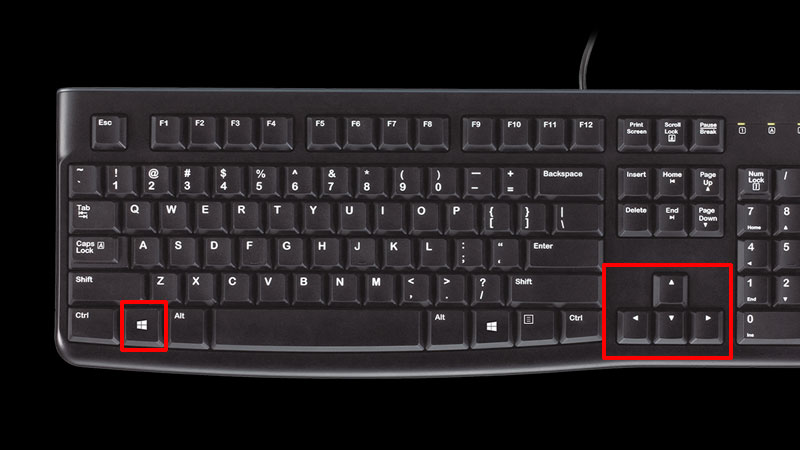
Another method is using keyboard shortcuts. You can easily split the screen by pressing the “Windows” key and “Arrow Keys“. You can also use this shortcut to place your tab in a different position. You can also make space for more than two screens on your computer.
This is all you need to know on how to split screen on Windows 10. If you want to use multiple screens on one single computer then here is a guide on How to Add Multiple Monitors to Your Windows PC.