There are times when you need to share multiple photos with your friends and family members. This task becomes lengthy as earlier you have to select every photo and share them. Well, this process is shortened as on iPhone you can now share an album quite easily. So, today in this guide I am going to explain to you how to share an album on iPhone.
Steps to Share an Album on iPhone

As discussed above, sharing an album is now made easy and hassle-free. Let’s see how you can share an album on your iPhone. Before sharing an album you need to turn on the “Shared Album” by following these steps:
- Open the “Settings” app.
- Now, Tap on the “Account Name” and then go to the “iCloud” section.
- Now, select “Photos” and then turn on “Shared Album“.
After turning on “Shared Album” follow these steps to share an album on iPhone.
- Open the “Photos” app on your iPhone.
- Now, tap on the “Plus” icon in the top corner and select “Add a Shared Album“.
- In the next window, name your new album and click “Next” and then type the name of the group or the individual.
- After adding the names, click on “Create“.
- After this, tap on the new shared album and tap on the “Plus” icon.
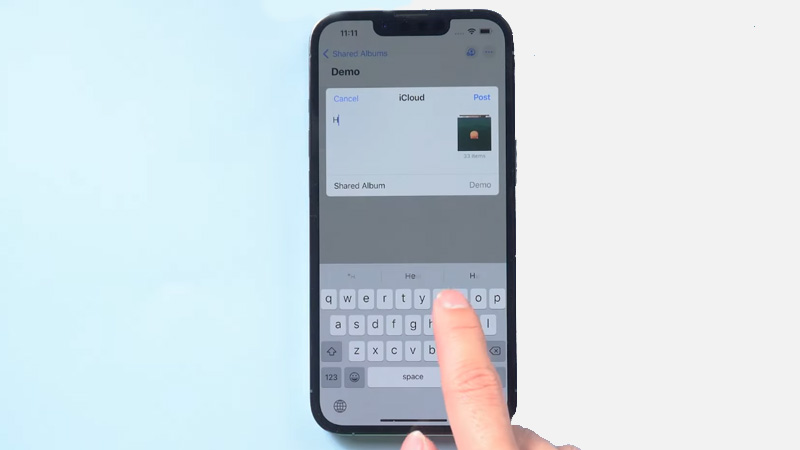
- Now, select the photos you want to share and click on “Done” and then “Post” after writing something.
If you want you can add people by tapping on the profile icon on the top and then tapping on “Invite People”. You can also give posting authority to your subscribers and also make that album public. You can also turn on notifications to keep track of who posted some photos. If you want you can delete the shared album to stop sharing. This trick will only work with people who are using iPhone or any device from the Apple ecosystem or has an Apple iCloud account.
This is all you need to know about how to share an album on iPhone. If you want to save a series of images in a photo preview format then here is a separate guide on How to Make or Save a Slideshow on iPhone.
