Breakout rooms on the Zoom app allow you to break the ongoing meeting into smaller sessions. This feature is helpful for small group discussions or to keep some participants on hold from the main meetings for some time. This feature is free to use and easily customizable. To learn more about how to set up a breakout room on Zoom, this guide will help you.
Zoom: How to Set Breakout Rooms (2023)
To set breakout rooms, first, enable it by going to Zoom Web portal > Account Management > Account Settings > Meeting > Breakout Rooms > Enable. After you turned on this feature, you can create breakout rooms from the ongoing meeting. If you are the host, follow the steps mentioned below to create one:
- To set breakout rooms on Zoom from ongoing meetings, tap on the ‘Breakout rooms’ option from the bottom panel of the app screen.
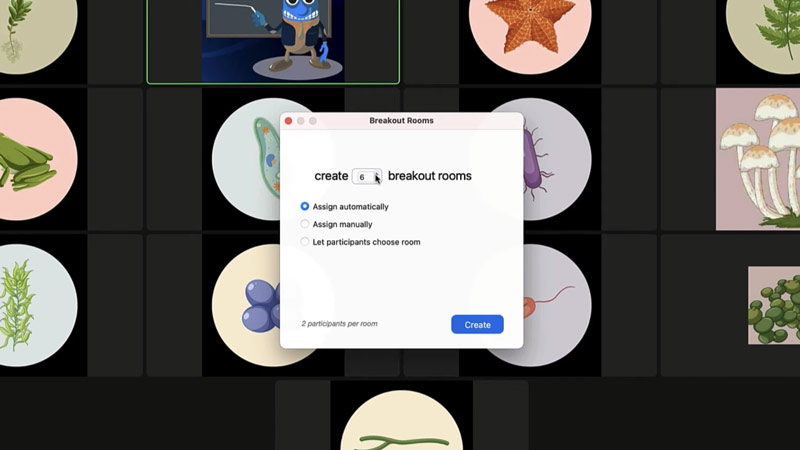
- With the ‘Assign Automatic’ settings option, you can set the number of rooms you want to create, and the app will automatically assign the participants to the breakout room.
- Also, you can manually set breakout room participants by selecting the ‘Assign manually’ option.
- The ‘Let the participants choose’ option allows participants to choose a breakout room.
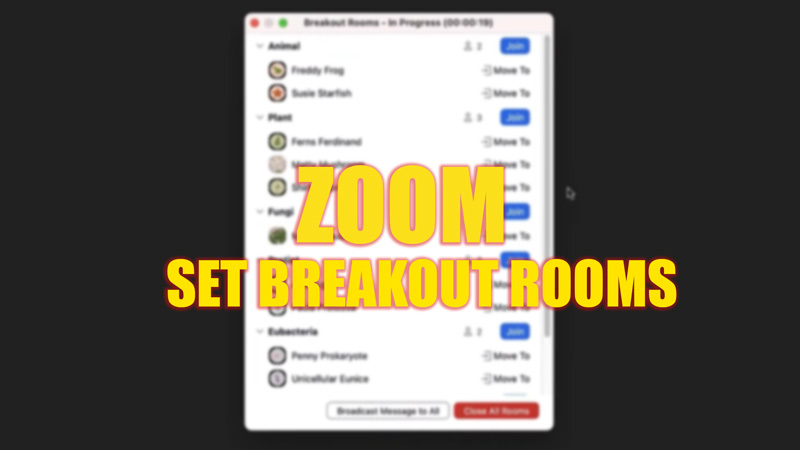
- The host can participate by sending texts using the ‘Broadcast’ options from the Breakout rooms menu.
- Also, the host can participate or leave any breakout room if they want to.
- Setting a breakout room for ongoing meet works for small groups. When it’s a large group, pre-assigned breakout rooms are the best.
How to Set Pre-assigned Breakout Rooms on Zoom
You can pre-assign breakout rooms on Zoom by two methods, manually or through a CSV file, both methods are discussed below:
Set Pre-assigned Breakout Rooms Manually
- To set Pre-assigned breakout rooms Manually, open the Zoom web portal and click on the ‘Meetings’ tab.
- Scroll to the ‘Meetings Option’ section and tick on the ‘Breakout room Pre-assigned’ check box.
- Click on the ‘create rooms’ option.
- Next to the ‘Rooms’ from the left panel, select the ‘+’ icon to create new rooms.
- Select each room and type the email address of each participant in the ‘Add participants’ text box.
- Click on save to assign them rooms manually.
This manual method has one major drawback, and that is time-consuming. As for the large groups with 50 or 100 participants, adding the email address of each participant isn’t viable. Hence, in such cases, you should use a CSV file method to create breakout rooms faster.
Set Pre-assigned Breakout Rooms using a CSV file
- Create a spreadsheet using Microsoft Excel or Google Sheets.
- On that spreadsheet, fill in the ‘Pre assign room name’ and ‘Email address’ columns.
- Now save the spreadsheet and open the Zoom web portal.
- Go to the ‘Meetings’ option and then click on the ‘Breakout room Pre-assigned’ check box.
- Click on the ‘Import from CSV’ option, and a new dialog box will open.
- Browse and drop the CSV file from your windows and click on save.
- You can only add up to 200 participants to breakout rooms using CSV files, and it’s the only limitation of this method.
That’s everything covered on how to set breakout rooms on Zoom. Also, while using Zoom, you might encounter some errors that can be solved with our guides, such as How to fix the ‘Unable to Connect’ Error on Zoom or How to fix Zoom webcam video glitching.