A screenshot is an in-built feature that is available on almost every computer. This feature is generally used to save the information or capture your computer screen to save something important. This feature is handy when you want to refer to something later or want to show it as proof to someone. So, today in this guide I am going to explain to you how to screenshot on your HP Laptop running on Windows 10 operating system.
Steps to Take Screenshot on HP Laptop Running Windows 10
Taking a screenshot is easy on any laptop and can be achieved from different methods. These different tricks are discussed below in detail. So, let’s see how you can capture your screen on HP Laptop.
Taking Screenshot Using the Snipping Tool App on Your HP Laptop
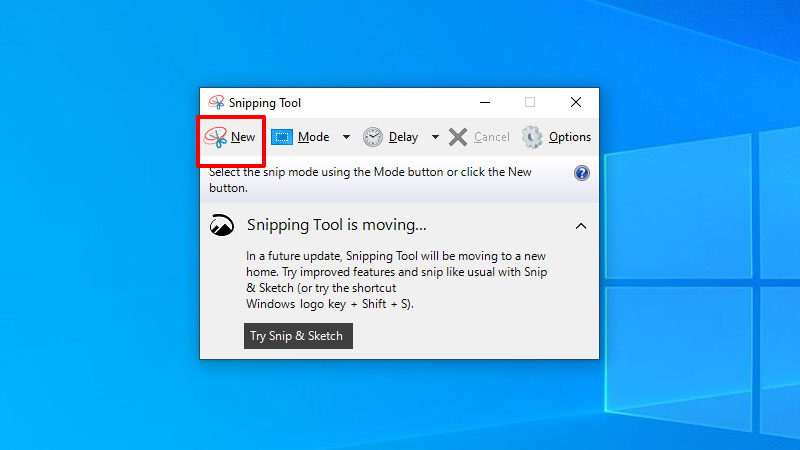
Windows 10 has an in-built utility app that helps you to take a screengrab of your Laptop screen. You can take a screenshot using the Snipping Tool app by following this simple workaround:
- Open the “Sniping Tool” app on your computer by searching “Snipping” in the Start Menu.
- Now, click on the “New” in the menu bar.
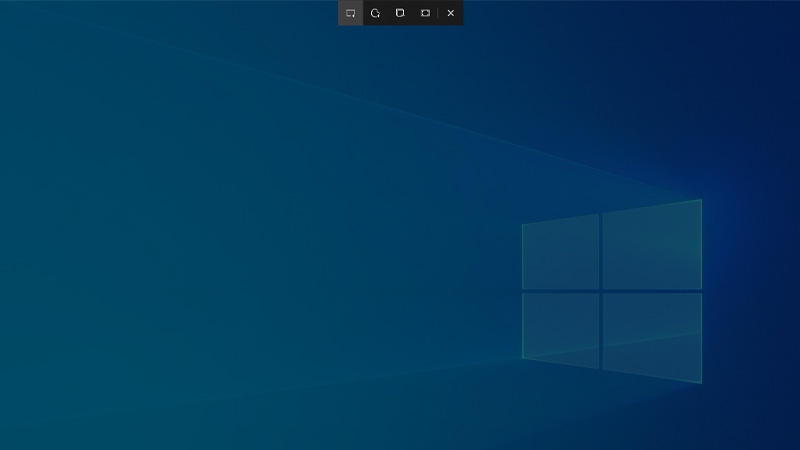
- After this, you will see your screen has dimmed and your cursor has turned into a crosshair.
- To take a screenshot simply drag the crosshair on the area you want to take a screenshot of.
You can open the Snipping Tool app by pressing the “Windows+SHIFT+S” shortcut key and then follow the last step mentioned above. After the screenshot is captured the app will notify you and you can open it in the app and then save it by clicking on the “Save” icon on the top corner.
Taking Screenshots Using Keyboard Keys
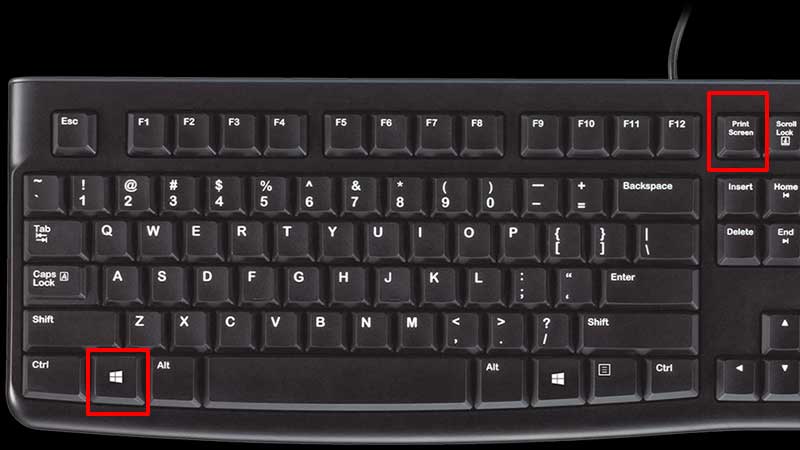
You can take a screenshot without opening the Snipping Tool app by using the “Print Screen” key on your laptop’s keyboard. This is the quickest way to take a screenshot on your HP Laptop running on Windows 10 OS. After pressing the “Print Screen” button on your keyboard you can paste that screenshot either on Microsoft Word or the Paint app to save the screenshot. If you want to save your screenshot directly as an image then you can do this by pressing the “Windows + Print Screen” keys together. You can find this image in the Screenshot folder under the Pictures folder on your computer.
Taking Screenshot Using Xbox Game Bar
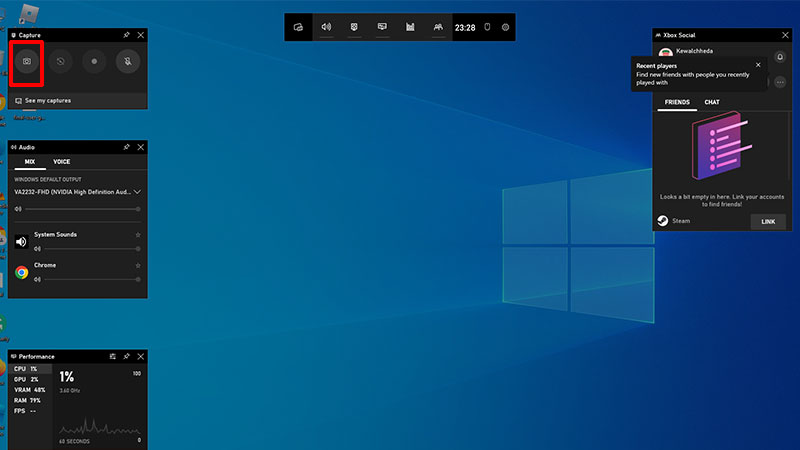
You can also use the Xbox Game Bar app to take a screenshot. For this, press the “Windows + G” hotkeys to open Xbox Game Bar. Now click on the “Camera” icon to capture the screen. After pressing the icon your screen will blink slightly to capture the screen. You can click on the popup icon to open the screenshot and also open it by clicking on “See my captures” and then click on the “Folder” icon to open the file location.
This is all you need to know on how to take a screenshot on HP Laptop running on Windows 10. If you want to record a video of your screen then here is a list of Free Screen Recording Software For Windows 10- Best 5 Tools.
