On iPhone scanning documents is much more efficient than on Android. This is because of the in-built Notes app that can help you scan documents using your device camera and save them as a PDF file on your device. This saves time and energy, hence to scan a document using iPhone with iOS 16, this guide will help you.
iPhone: How to Scan a Document on iOS 16 (2023)

Using the Notes app you can scan any document on your iPhone with iOS 16, and here’s how you can do it:
- Firstly, open the Notes app on your iPhone and tap the ‘+’ icon to create a new note.
- Then tap the ‘Camera’ icon from the bottom of the screen, then select the ‘Scan Documents’ icon from the screen.
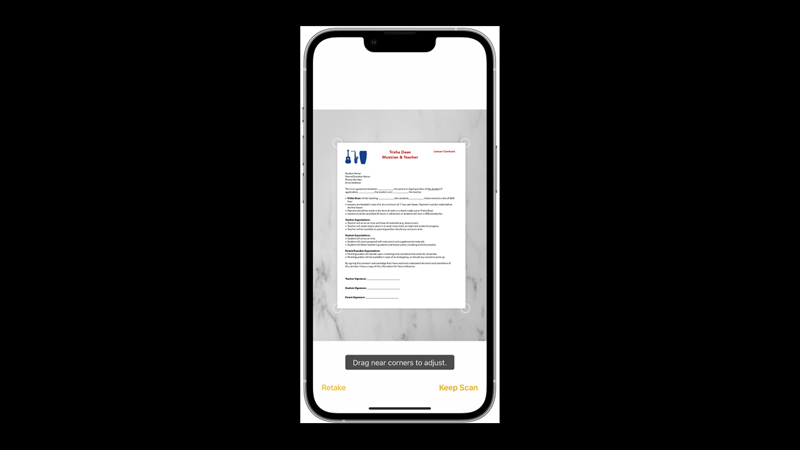
- Now position your iPhone over the document page to take the picture.
- The iPhone will automatically detect the document and take the picture.
- However, you can manually take the picture by tapping the shutter or the volume button.
- Tap ‘+’ to add more pages to your PDF file.
- Once, done scanning the pages, tap the ‘Save’ button.
Save documents as Text on iPhone
Another useful thing that the Notes app can do is scan documents and save them as text. This is possible due to the built-in OCR technology to scan text on iPhone, and to use this feature, follow these steps:
- Open the Notes app and tap the ‘+’ icon to create a new note.
- Then tap the Camera icon, and position your iPhone’s camera on the document.
- When the yellow frame appears on the screen, tap the ‘Scan’ icon.
- Immediately 4 pointers will appear on your screen.
- Adjust these pointers by dragging them to select the text.
- Finally, tap the ‘Insert’ button to copy the document’s text into your Notes app and save it.
That’s everything covered on how to scan a document on iPhone with iOS 16. Also, check out our other guides, such as How to use Google Assistant on iPhone with iOS 16 or How to stop spam calls on iPhone with iOS 16.
