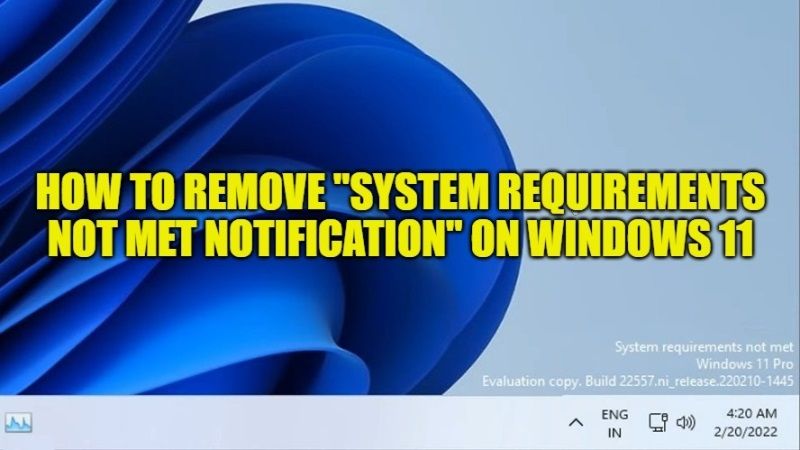
Microsoft has released the latest preview version of Windows 11 (Insider Preview Build 22557) and with it comes a watermark that is shown in the corner of the desktop on PCs that do not meet the minimum system requirements to install the operating system. It comes with a warning message that states “System Requirements Not Met…” and so on along the lines. In this guide, let us check how to remove System Requirements Not Met notification on your Windows 11 computer.
How to Remove “System Requirements Not Met” Watermark in Windows 11
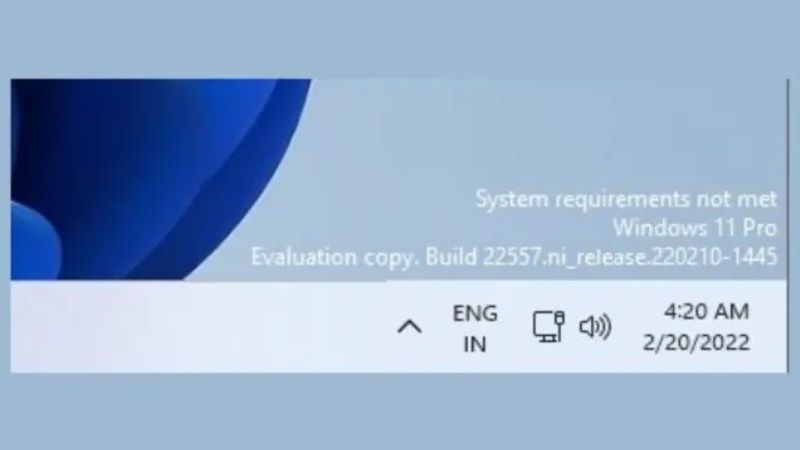
Microsoft has adopted a trick to make things clear to those who have chosen a workaround to install the Windows 11 operating system, despite the computer not having the required technical specifications. With the Windows 11 build 22557, many users are getting a warning message that says “System Requirements Not Met” watermark on their computer.
However, there is a method to eliminate this warning message shown in Windows 11 by following the procedure given below. Here’s how to remove the “System Requirements Not Met” watermark on Windows 11:
- First of all, click on the Search bar and then type “Regedit” without quotes.
- You will ger Registry Editor in the list, just right-click on it and select to Run as administrator.
- After that, go to the following key mentioned below:
HKEY_CURRENT_USER\Control Panel\UnsupportedHardwareNotificationCache - On the right pane, you will see SV2 DWORD, just change its value from “1” to “0” by right-clicking on it.
- Finally, you need to restart your Windows 11 computer to remove the watermark once and for all.
If you do not see UnsupportedHardwareNotificationCache key, then you have to make it manually. Follow the steps given below on how to do that.
- Open the Registry Editor by typing “Regedit” without quotes in the Search box on the taskbar.
- Go to the following registry key: HKEY_CURRENT_USER\Control Panel\
- On the right pane, right-click on an empty area and select “New” > Key, rename this key to UnsupportedHardwareNotificationCache.
- Also, right-click on an empty area and then select New > “DWORD (32 bit) value” and rename it to SV2.
- Double click on SV2 and set its value to “0”
- Finally, save the settings and then restart your PC. This way the notification of “System Requirements Not Met” will disappear completely.
That is all there it is to know about how to remove the “System Requirements Not Met” notification in Windows 11. While you are here, you may be also interested to know How to Remove Login Password on Windows 11, and How to Connect Bluetooth Devices in Windows 11.