
Among the novelties of macOS Ventura, the possibility of encrypting notes can be quickly done by encrypting them end-to-end with the password used to access the Mac or Touch ID. With this latest feature, you no longer need to remember a password for secure notes (just use your login password). Thanks to end-to-end encryption, no one will be able to access your protected notes without the login password (even Apple can’t); only you will have the “special key” needed to unlock and read them. In this guide, you will learn about how to protect Notes with Touch ID on macOS Ventura in detail below.
MacOS Ventura: How to Protect Notes with Touch ID
It is very easy to protect Notes with Touch ID on your macOS Ventura operating system. You can access your secure notes on any device with your iCloud account using your device passcode or password. To view password-protected notes, iCloud Keychain must be enabled and iOS 16 or macOS 13 is required.
If you want to restrict access for other people who may know the device passcode, you can create a separate password just for secure notes. This is an effective security option for some users; however, if you forget the password, it won’t be possible to recover it (even Apple can’t do that) and you may lose access to the protected notes.
Below you can see how to lock Notes with a password or Touch ID on macOS Ventura:
- Launch the Notes app on your Mac Ventura OS.
- Select the note you want to protect and click the lock icon (in the Notes app toolbar) and select “Protect Note”.
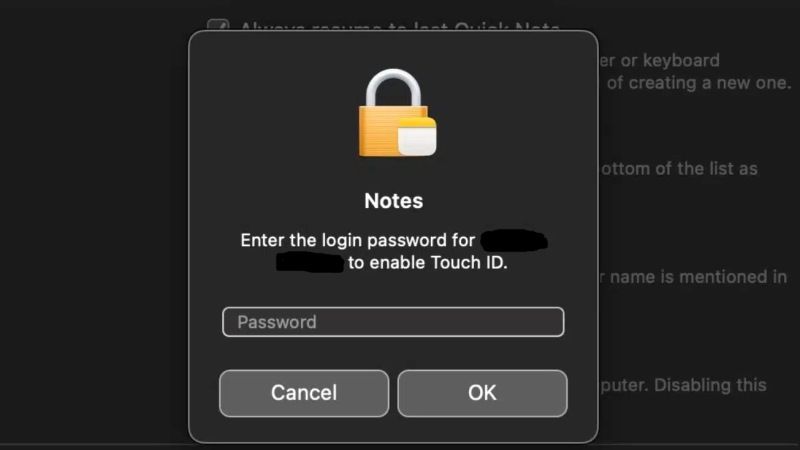
- When prompted, enter a password; at the end of entering the password, you can close the protected notes with a click on the padlock icon.
To view a secure note, the user must enter their passphrase or/and authenticate via Face ID or Touch ID. After successfully authenticating the user to view or create a secure note, Notes opens in a secure session, during which the user can view or create other secure notes without having to authenticate again.
However, only notes protected with the current passphrase will be displayed in the secure session. For notes secured with a different passphrase, the user will still need to authenticate the same. Apple explains that the secure session is closed when:
- User taps Protect Now button in Notes.
- Notes goes into the background for more than 3 minutes (8 minutes in macOS).
- Your iOS or iPadOS device freezes.
To change the passphrase for a secure note, the user must enter the current passphrase, because Face ID and Touch ID are not available when editing the passphrase. Once you choose the new passphrase, the Notes app re-encrypts the keys to all existing notes encrypted with the passphrase in the same account.
That is all you need to know about how to protect Notes with Touch ID on macOS Ventura. If you are interested in more Mac Ventura operating system Tips and Tricks, check out our other guides only on TechNClub.com: How to Take Screenshots of Touch Bar on Mac Ventura, and How to fix ‘MacOS Ventura cannot be installed in Macintosh HD’ Error.