Do you want to send many files via email to a colleague for work? Or send holiday photos to a friend, without having to upload them all one at a time? You can simply archive all your documents in a convenient zipped file. The “Zip” format is the most widespread file compression format and is independent of the operating system platform used. It is possible to install various software suitable for this purpose, but with Mac operating system you can also do it by using its in-built function. In this guide, we will tell you how to make a zip file on Mac Sonoma below.
How to Create a Zip File in Mac Sonoma
The first thing to make a zip file on Mac Sonoma is to decide which files you want to include within the archive. Normally, you can include any type of file such as images, Word documents, PDFs, or videos. Different video or audio formats such as AVI or MP3, are formats that by nature deal with “reducing” the size of the files. Therefore subjecting these files to further compression in ZIP format will not give the desired result.
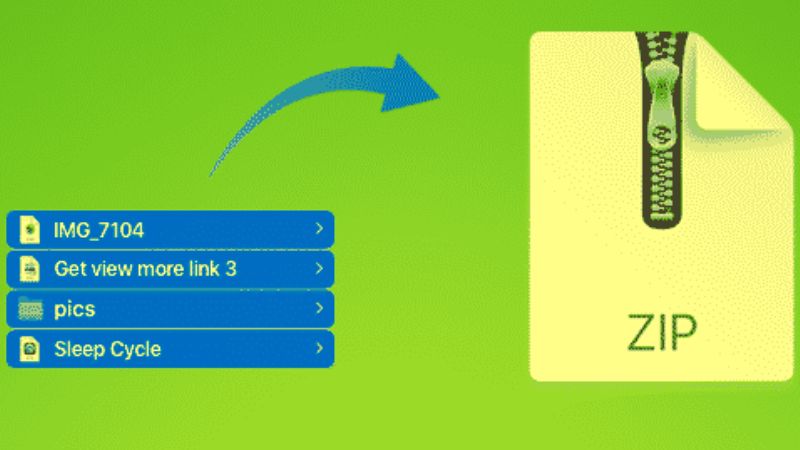
You can simply select all the files you would have chosen and create the “Zip” archive, but this operation could be complex and confusing if the files are different. The best thing is to gather all the files that interest you in a single folder, and then compress it entirely into a ZIP file. This will also allow whoever receives the file to open it without finding files scattered everywhere, but all gathered in a convenient folder.
Steps to Create a Zip File on Mac Sonoma
Now that everything is ready, all you have to do is take action and create the zipped file on your macOS Sonoma by following the steps below:
- First, right-click on the folder you created (if you use a trackpad you could simulate the right mouse button by holding down the ctrl key while clicking).
- In the drop-down menu that appears, select “Compress”.
- A dialog box will open that will keep you informed about the progress of the creation of the “.Zip” file, also showing you the time remaining to the end of the operation.
- As soon as the dialog closes, the zip file will be ready to be emailed to friends and colleagues or it can be also uploaded to your PC.
- Being a “compression” format, not only would you have gathered all the files to be sent in a single, convenient file, but the “.Zip” archive will also take up less space on the hard disk.
- You can also rename the file, and this operation will not affect in any way the files contained within the “.Zip” you just created.
That’s everything there is to know about how to create a zip file on Mac Sonoma. If you are searching for more macOS Sonoma Guides, check out our other articles only on our website TechNClub.com: How to Create New Safari profiles in iOS 17 and macOS Sonoma, and How to Get Reaction Video Effects on macOS Sonoma.