Scanner issues on Windows have become a common problem, but fixing it is quite easy. You can face this issue due to outdated drivers, or a loose connection. Now, if you have this issue, you can try the five simple solutions we have covered in this guide to fix the no scanner connected error on your Windows 11. Also, get to know other solutions if none of these fixes help.
5 Ways To Fix No Scanner Connected Error On Windows 11
There are many reasons for your scanner not getting detected after the Windows 11 update. It could be due to an incomplete update, a hardware connection issue, or just a loose cable connection. But, there are some solutions that you can try to fix the no scanner connected error on your Windows 11. Read further to know the best five fixes that you can try to solve the issue.
Fix 1. Check For The Cable Connections
One simple thing to try to fix the scanner detection error is to check if the cables and PC are connected properly. Many times there is a loose cable connection and the scanner goes into no detection. So, check if the cables of the scanner are connected properly enough to get detected by your Windows 11. If these are connected properly, and the error still appears, you can try the other fixes mentioned.
Fix 2. Run Hardware Troubleshooters On Windows 11
Another basic fix is running Hardware troubleshooters to check if there is any internal issue. Now, to run hardware troubleshooters on your Windows 11, follow the below-given steps:
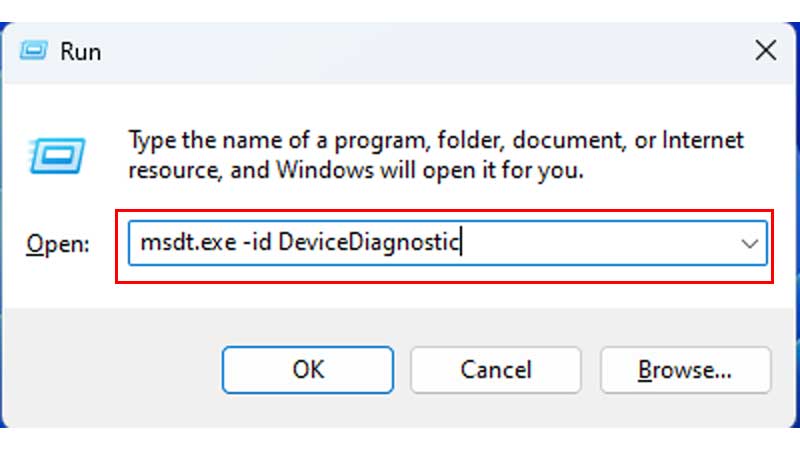
- First, on your Windows, press Windows Key and R.
- Now, type in the command, “msdt.exe -id DeviceDiagnostic”, and hit Enter.
- Let the Windows run the troubleshooter.
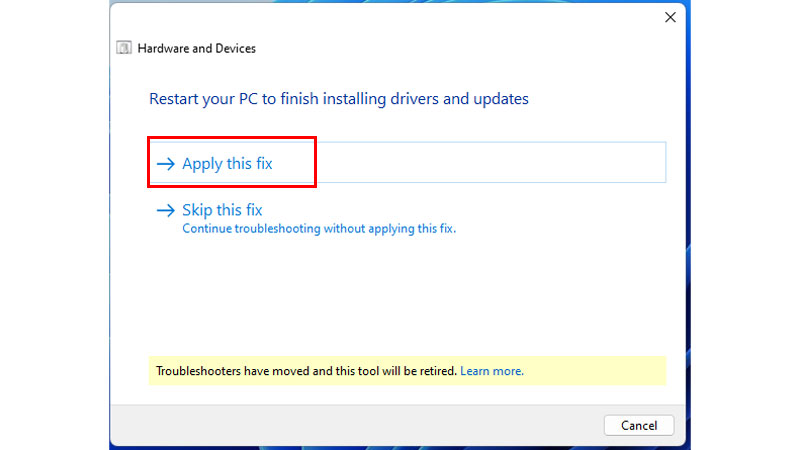
- Now, you will have a pop-up window showing if there are any errors. If there are errors, a screen will pop up to Apply or Skip the fix.
- Now, to fix the issue, click on Apply This Fix and click on Next.
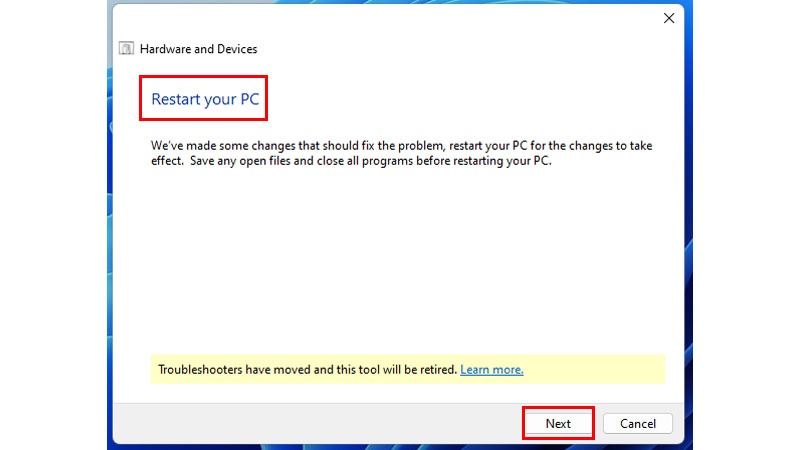
- Then, after the fix the pop-up will ask you to Restart the PC, and then you can click on Next. Now, this will restart your Windows 11 and fix any issues with the scanner.
- If there are no fixes, you can Close the tab.
Now, check if the scanner can be detected on your Windows 11 or not. If still there is an error, you can try the other fixes as explained further.
Fix 3. Check For Scanner Drivers’ Update
Another reason for your Windows not detecting Scanner could be due to outdated scanner drivers. So, to check and update the scanner drivers on your Windows, follow the steps explained below:
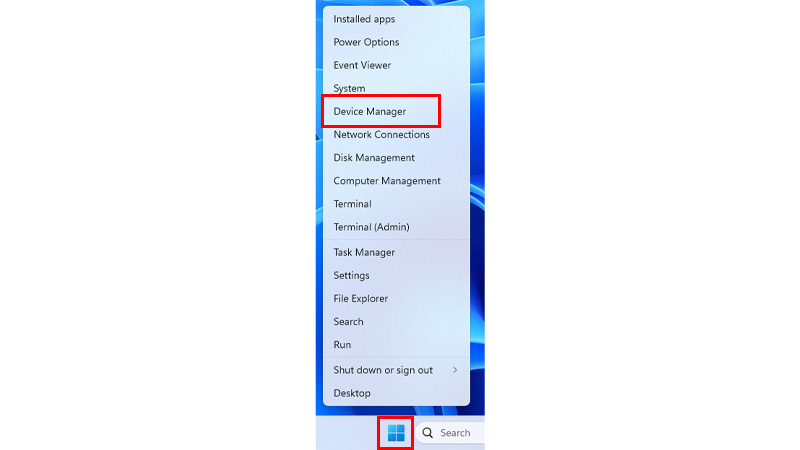
- On your Home Screen, right-click on the Start Menu from the taskbar.
- Now, click on Device Manager.
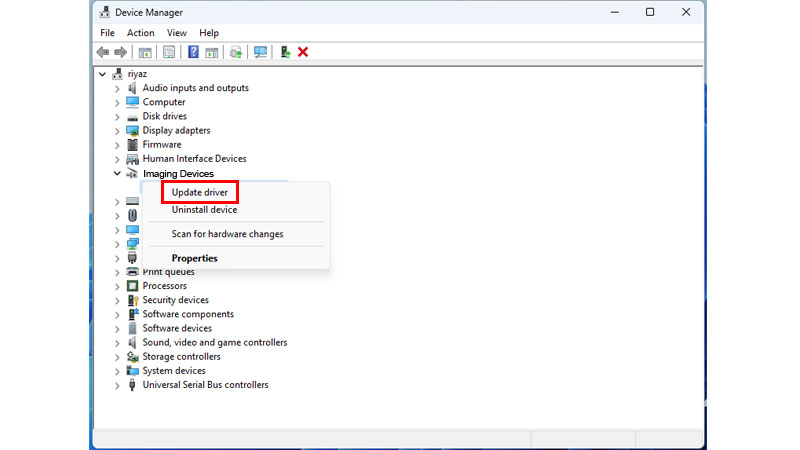
- Then, from the options, double-click on the Imaging Devices option.
- Now, right-click on your Scanner.
- Then, click on the Update Drivers option.
- Now, from the pop-up screen, click on Search Automatically For Drivers.
- Finally, wait for the driver updates to complete, and Restart your PC.
After your PC has been restarted, check if the error still exists. If the error has been fixed, you can now use the Scanner on your Windows 11. But, if it is not, then try the other fixes below.
Fix 4. Run SFC And DISM Commands To Scan Faulty Data On Windows 11
The SFC() and DISM() command check will help check if there are any corrupted files present on your Windows 11. Run these commands on your PC, find if there are any, and then fix the issue. Now, to run the SFC and DISM commands, follow the steps below:
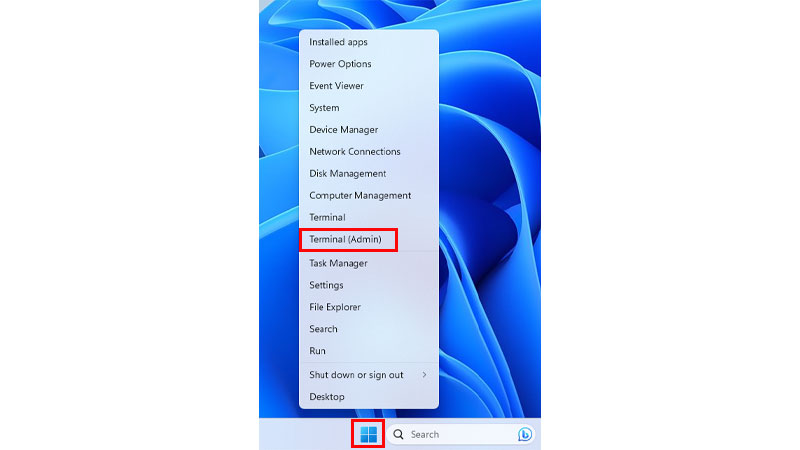
- First, on your Windows, right-click on the Start Menu.
- Now, click on the Terminal (Admin) option, and then click on Yes when asked for permission.
- Then, type in the command, “sfc /scannow”, and let the Windows scan for the system files.
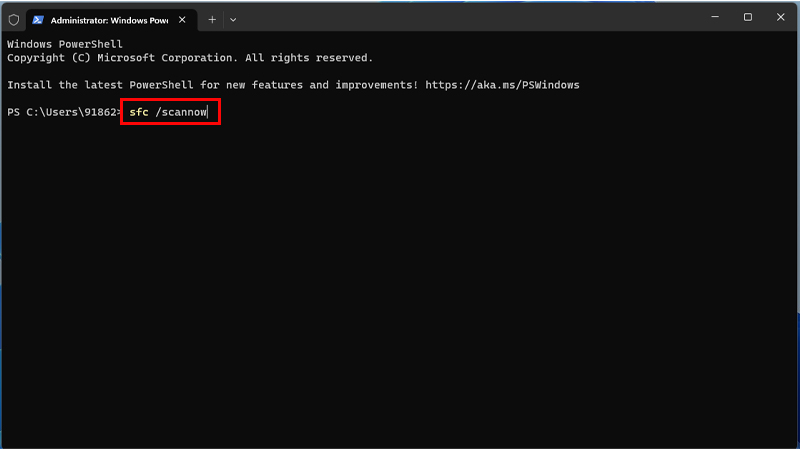
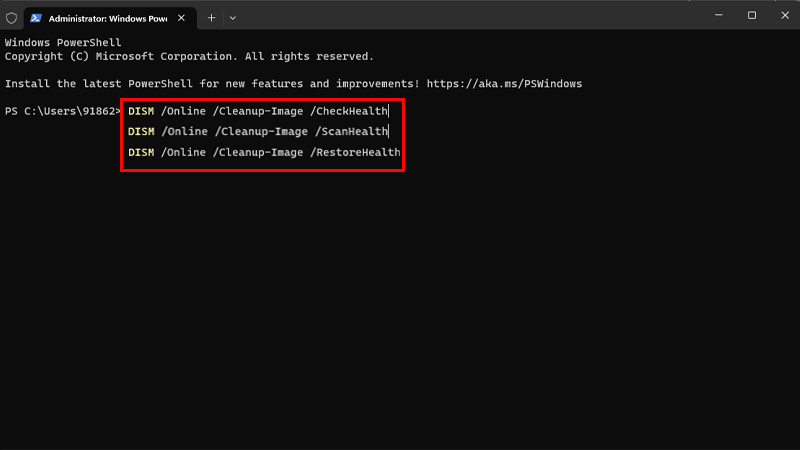
- After this, type in the below commands one by one and hit Enter after every command you enter.
DISM /Online /Cleanup-Image /CheckHealth
DISM /Online /Cleanup-Image /ScanHealth
DISM /Online /Cleanup-Image /RestoreHealth
- Now, after the scan is completed, check if there are issues detected. If not, you are good to go.
- Finally, Restart your PC after the scan and the fix.
If still you cannot find your Scanner or Windows 11 shows a Scanner not connected error, you can try the last solution explained below.
Fix 5. Check Windows Updates
One last solution that you can try to fix the scanner not connected error on your Windows 11 is by checking if the updates have been done correctly. If the updates have not been completed, or done in the right way, your PC would not detect the scanner or any other hardware device. Now, to check and update your Windows 11, go to Settings>click on Windows Update>click on Check For Updates>if any, click on Update Now>Restart your Windows. Thus, in this way, your Windows will be updated to the latest version. Now, you can check if the scanner connection error has been fixed.
These are the five simple solutions that you can try to fix the no scanner detected error on your Windows 11. Now, if you still cannot connect your scanner to your Windows 11, you can try to restart your PC, or remove or reconnect and add your device manually to your Windows 11. Now, to know more about such Windows 11 fixes, refer to these guides on TechnClub – 22H2 Update Keeps On Installing On Windows 11 Fix or Turn Off Lock Screen Ads On Windows 11.