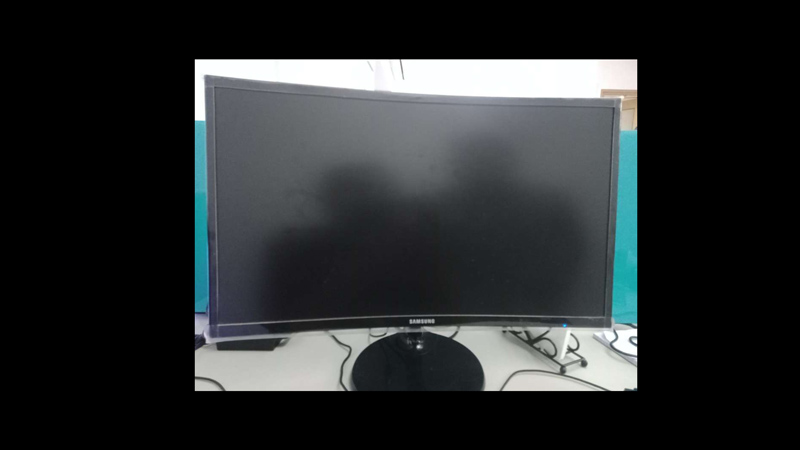
If you are new to PC building there might be instances when you might run into one problem or another. The major issue with setting up a new PC is the blank screen when you turn it on. If you had the no display issue while on your new PC build, don’t panic as there are a few possible ways to fix this error and this guide will help you with it.
Fix: New PC Build No Display Error (2023)

If your new PC build shows no display, you can fix it by following these workarounds:
1. Check your Power Supply
Make sure that your power supply is connected properly to the motherboard, CPU, GPU, and other components. Also, make sure that your power supply has enough wattage to support your PC build.
2. Check your Monitor
Sometimes the no display error is caused when the monitor isn’t turned on. Hence, make sure your monitor is plugged in and turned on. Also, use the correct input source on your monitor. For example, if you are using an HDMI cable, make sure that your monitor is set to HDMI input. You can usually change the input source using the buttons on your monitor.
3. Check your Video Card
Make sure that your video card is seated properly in the PCIe slot and that it is connected to the power supply. Also, make sure that you are using the correct video output port on your video card. For example, if you are using a DisplayPort cable, make sure that you are using a DisplayPort port on your video card.
4. Check your RAM
If your RAM sticks are inserted improperly on your new PC build it can cause the no display error. Hence, make sure that your RAM sticks are inserted correctly in the DIMM slots and that they are compatible with your motherboard and CPU. You can usually find the compatibility information on the manufacturer’s website or in the user manual. If you have more than one RAM stick, try using one at a time and see if that makes a difference.
5. Check your BIOS settings
Sometimes, you may need to update or adjust your BIOS settings to enable or disable certain features or components. For example, you may need to enable XMP (Extreme Memory Profile) to run your RAM at its rated speed and timings. You can usually access your BIOS by pressing a key such as ‘F2’, ‘F10’, or ‘Delete’ on the keyboard during startup. Note that each BIOS settings have different types of settings. Hence, it is recommended to visit your motherboard manufacturer’s website to get more information on BIOS settings.
These were the few steps to fix the no-display error on your new PC build. Also, check out our other guides, such as How to adjust virtual memory on Windows 11 or How to increase dedicated video RAM (VRAM) in Windows 10.
