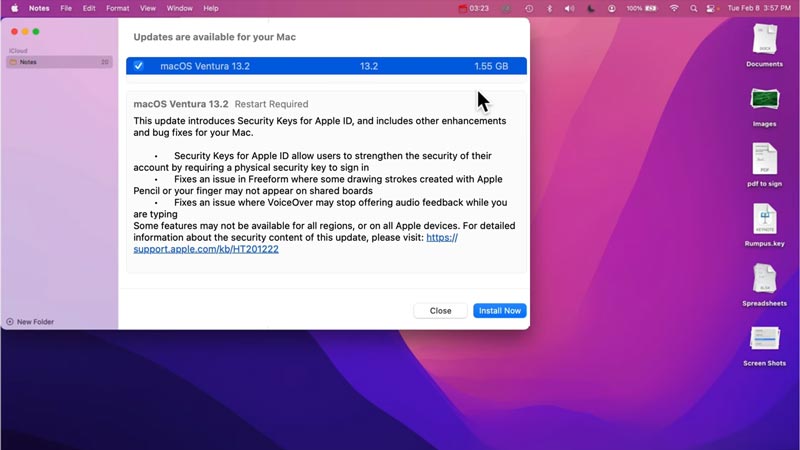
Since the launch of the latest MacOS Ventura, users are trying to upgrade the operating system on their MacBook. However, some users are facing problems installing it on their computers. On the user’s computer, the ‘MacOS Ventura cannot be installed in Macintosh HD‘ error message is shown. This can happen due to several reasons, and to fix this error, this guide will help you.
Fix: ‘MacOS Ventura cannot be installed in Macintosh HD’ error (2023)

While installing MacOS Ventura on your computer, if you are facing the ‘MacOS Ventura cannot be installed in Macintosh HD’ error, the reasons for this are:
- Your computer lacks storage space
- Installing Corrupted files or incorrect file format
- Incompatible hardware
- Weak Internet Connection
- MacOS bugs
Here are some methods to fix this error:
1. Install MacOS Ventura by Booting in Safe Mode
Bugs are common while you try to install a new software update on your device. You can overcome these issues and install MacOS Ventura in safe mode by following these steps:
- On intel-based computers, press and hold the ‘Shift’ key from the keyboard while restarting the computer. Release the key once you see the Apple logo, and the computer will Turn ON in Safe Mode.
- On Apple Silicon computers, after shutting down your Mac, press and hold the power button until the ‘Loading Startup options’ screen appears.
- Now select your Startup disk.
- Press and hold the Shift key, then click on the ‘Continue in Safe Mode’ button.
- The computer will restart in Safe Mode.
- Now try to install or update to the latest version of MacOS Ventura to see if the error is fixed.
2. Check the File Format on MacOS Ventura
MacOS Ventura file must be in APFS file system format to be installed on your device. Since some older PC still uses the Mac OS Extended (Journaled) HFS+ format, it can cause trouble while installing the MacOS Ventura. Hence, you will need to convert the HFS+ volume to the APFS file system before installation. To do this, follow these steps:
- Restart your computer in safe mode by following the above methods.
- Now open the Applications window on your Mac and click on the ‘Disk Utility’ tab.
- Select the Disk or Volume from the left panel and click on the ‘Edit’ menu.
- Click on the ‘convert to APFS’ from the menu and then click on the ‘Convert’ button.
- Once the conversion is over, click on the ‘Done’ option.
- Now reinstall MacOS Ventura to see if the error is fixed.
- Also, if you have a corrupted MacOS file, uninstall it and download the valid MacOS Ventura from the official Apple App Store website.
3. Free some disk space on Mac
If you don’t have enough storage space on your drive, encountering errors is natural. You can clear up some disk space by following these steps:
- Click on the ‘Apple Menu’ icon and select the ‘About this Mac’ option.
- Select the ‘Storage’ tab and check if there’s enough space on your device for the installation of the MacOS Ventura.
- If there’s not enough storage space on the drive, click the ‘Manage’ button.
- Now delete unwanted files or applications and clear the cache by clicking on the ‘Review Files’ button in the ‘Reduce Clutter‘ section.
4. Check if your device is Compatible
If your device doesn’t have minimum system requirements or isn’t compatible, MacOS Ventura will not be supported. Hence, we recommend checking the list of all MacOS Ventura-supported devices once, to know if your device is compatible or not.
That’s everything covered on how to fix the ‘MacOS Ventura cannot be installed in Macintosh HD’ error. Also, check out our other guides like How to turn on/off the firewall in MacOS Ventura or How to fix MacBook freezing after the MacOS Ventura update.
