
Many users who are using iPhone 13 recently have had an issue where the Wi-Fi network is not working after updating it to the latest iOS 16.4. For a lot of users, the Wi-Fi may become slow, unstable, or may not connect at all. Hence, to address this issue and fix all the Wi-Fi issues on your iPhone 13, this guide will help you.
Fix: iPhone 13 Wi-Fi Not Working after iOS 16.4 Update Error (2023)
To fix Wi-Fi not working issue on iPhone 13 after the iOS 16.4 update, you can follow the below-mentioned workarounds:
1. Restart your iPhone and Wi-Fi Router
Sometimes, a simple reboot can solve many network issues. Hence, to restart your iPhone 13, follow these steps:
- Firstly, press and hold the power button and the volume up button on your iPhone 13 until you see the power off slider.
- Drag the slider to turn off your device.
- Wait for a few seconds and then press and hold the power button again to turn it back on.
- Now, try connecting to your Wi-Fi network and see if the issue resolves.
- If the error continues, try restarting your Wi-Fi router by unplugging it from the power source and re-plugging it after some time. Then try reconnecting your device to fix the Wi-Fi not working issue.
2. Forget and reconnect to your Wi-Fi network
Another possible solution to fix the Wi-Fi not working issue is to forget and reconnect to your Wi-Fi network. This can refresh your network settings and fix any glitches. Hence, to forget and reconnect to a network, follow these steps:
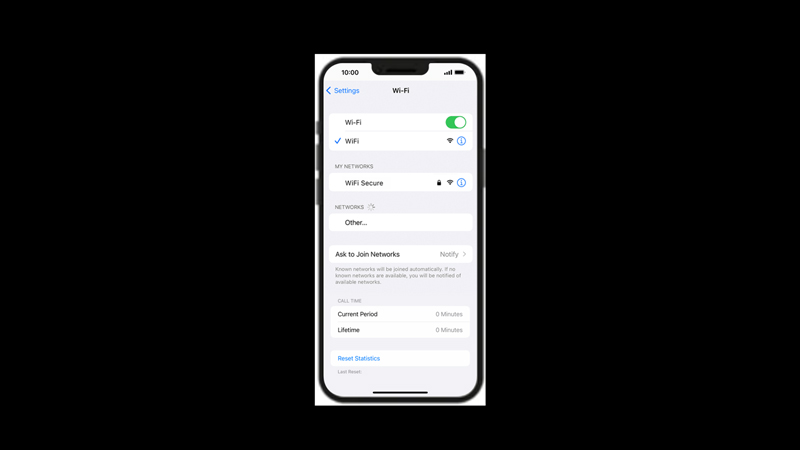
- Firstly open the Settings app on your iPhone 13, and tap the ‘Wi-Fi’ tab.
- Now tap the “i” icon next to your Wi-Fi network.
- Tap the ‘Forget This Network’ from the context menu.
- When the confirmation prompt appears, tap the ‘Confirm’ button.
- Wait for some time, then open the Wi-Fi setting and tap on your Wi-Fi network.
- Enter your Wi-Fi password and reconnect your network to fix the issue.
3. Reset network settings
If the previous steps did not work, you might need to reset your network settings. This will erase all your saved Wi-Fi passwords, Bluetooth devices, VPN configurations, and cellular settings, which might cause your network to slow down. Hence, to reset network settings, follow these steps:
- Firstly, open the Settings app on your iPhone 13 device and tap the ‘General’ tab.
- Then tap the ‘Reset’ tab and select Reset Network Settings.
- Enter your passcode and tap the ‘Reset’ button on the confirmation prompt.
- Your iPhone 13 smartphone will restart, and your network settings will reset.
- Reconnect to your Wi-Fi network and see if the issue is fixed.
4. Update to iOS 16.4.1
If the issue persists, you can try updating your iPhone 13 to the latest iOS 16.4.1, which has various security patches by going to Settings > General > Software Update > iOS 16.4.1 > Download and Install. Your device will restart, and your iPhone 13 will update to the latest software version.
That’s everything covered on how to fix iPhone 13 Wi-Fi not working after iOS 16.4 update error. Also, check out our other guide, such as How to Turn off iCloud Backup on iPhone 14 or How to fix Apple Weather not working error on iPhone with iOS 16.