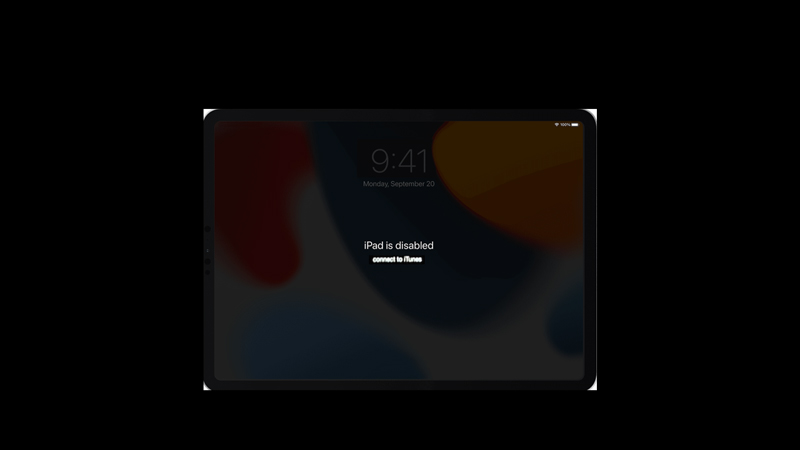
Sometimes when we forget the passcode to unlock the iPad device, we tend to enter the wrong passcode unknowingly. This can give us the ‘iPad is disabled connect to iTunes’ error message. If you encounter this error message while trying to unlock your iPad, worry not, this guide has some tips and tricks to fix it.
Fix: ‘iPad is Disabled Connect to iTunes’ Error (2023)

You can fix the ‘iPad is disabled connect to iTunes’ error message by following the below-mentioned methods:
1. Force Restart iPad
A few users in the Apple forum found out that force restarting iPad is useful to unlock the Apple device. We recommend trying this method first, to fix any malfunction caused by the device. To force restart your iPad, follow these steps:
- On an iPad without a home button, press and hold the top button and any of the volume buttons until the Apple logo appears on the screen.
- If you have an iPad with the home button, press and hold the top button until the Apple logo appears, and the device will restart.
- Now enter the correct passcode and see if the error message appears again.
2. Unlock iPad from recovery mode using iTunes or Finder
This method factory resets your device. Hence, we recommend having a data backup before using this method. To fix the ‘iPad is disabled connect to iTunes’ error with the help of iTunes or Finder tool, follow these steps:
- First, turn off your iPad and then turn it on in recovery mode.
- To turn on recovery mode on iPad with the home button, press and hold the home button until the recovery screen appears on your device.
- On iPad without a home button, press and hold the top button until the recovery mode opens on your device.
- Now connect your iPad to your PC or Mac with a compatible USB cable.
- If you are using a Mac, locate your iPad device using the Finder tool.
- For desktop users, open iTunes and select your iPad device.
- The ‘Restore & Update’ window will open.
- Click on the ‘Restore’ option on your Windows desktop or MacBook.
- The restoration process will start.
- Restart your device after restoration. Your iPad will not show the error message anymore.
3. Use Security lockout to fix the ‘iPad is disabled connect to iTunes’ error
If you are using iPadOS 15.2 or a later version, then you can use the ‘Security lockout’ feature to reset your iPad. To use the Security lockout feature, follow these steps below:
- On the error message screen, tap on the ‘Erase iPad’ option in the bottom right corner of the screen.
- Now enter your Apple ID and password on the pop-up window.
- Tap on the ‘Erase iPad’ option on the screen.
- This will sign you out of your iPad device and will restart the device.
- Your iPad will reset to default settings to fix the issue.
That’s everything covered on how to fix the ‘iPad is disabled connect to iTunes’ error. Also, check out our guides on How to close the app window on iPad or How to multitask on iPad.
