The Hypervisor Error can make the Blue Screen of Death(BSoD) appear on your Windows 11 computer which can be very annoying. Users get frustrated as they are not aware of what the problem is and how can they solve it. So, how can you fix the Hypervisor Error and get rid of the Blue Screen on your Windows 11 computer? Don’t worry, check our guide below to find out the troubleshooting ways.
Five Ways to Fix the Hypervisor Error in Windows 11
There may be several reasons why you are facing the Hypervisor Error in your Windows 11 PC. Incompatible or outdated drivers, corruption of certain system files, incorrectly configured virtualization settings, hardware issues, and much more. Whatever the issue is, check the five simple ways in this guide to fix the error on your Windows 11.
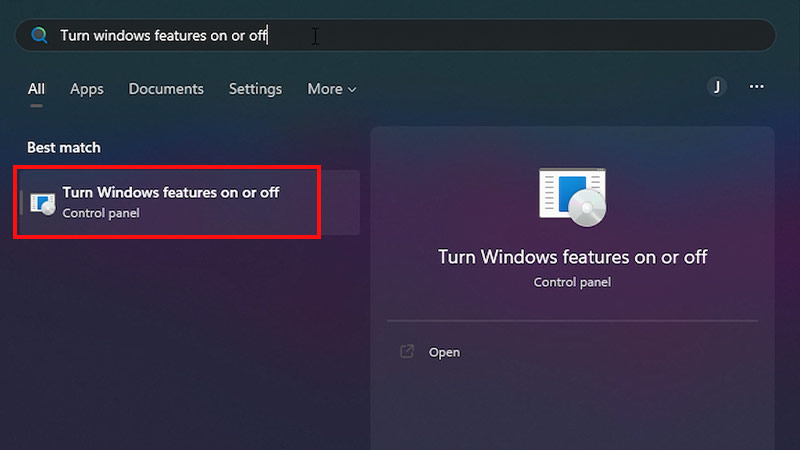
Check if Hyper-V is Enabled or Not
- Search ‘Turn Windows features on or off’ on the Windows 11 Search bar.
- Look for the Hyper-V folder.
- Enable the feature. Disable and Enable again if already enabled.
- Then, click on OK.

4. Restart your Windows 11 computer to apply the changes.
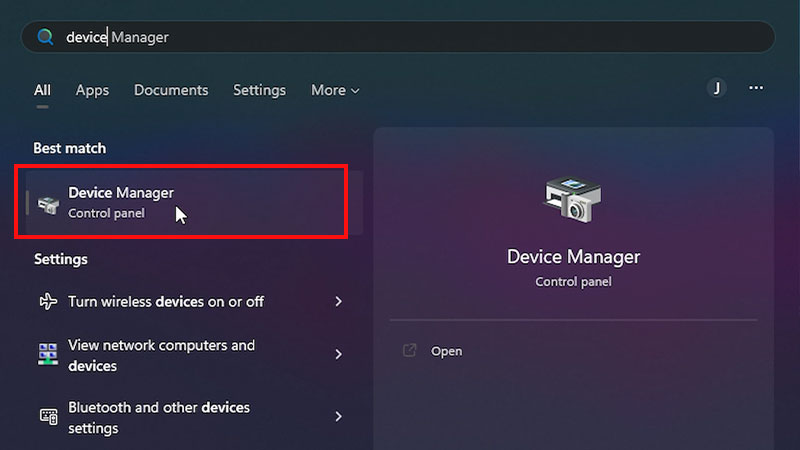
Update Your Drivers in Windows 11
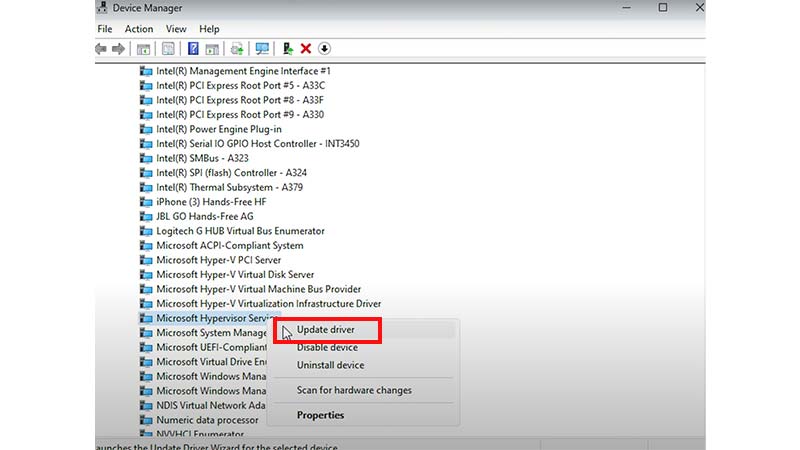
- Click on the Start button and search Device Manager.
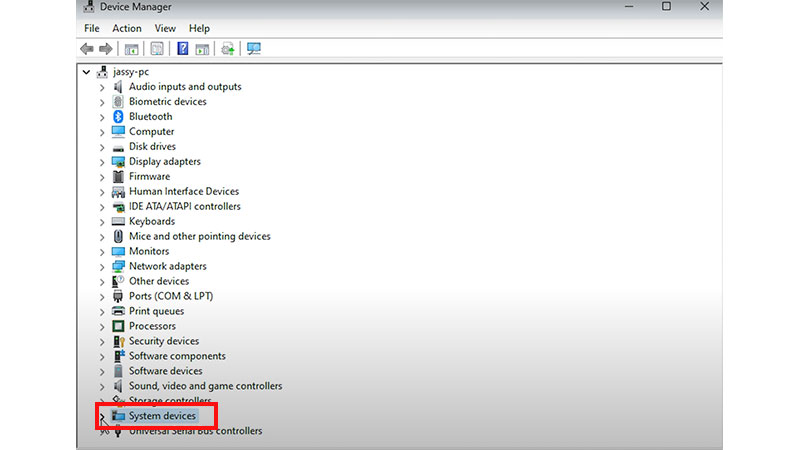
2. Scroll down and click on ‘System devices‘ to expand it.
3. Search for entries with an exclamation mark.
4. Right-click and select Update Driver.
Use Command Prompt
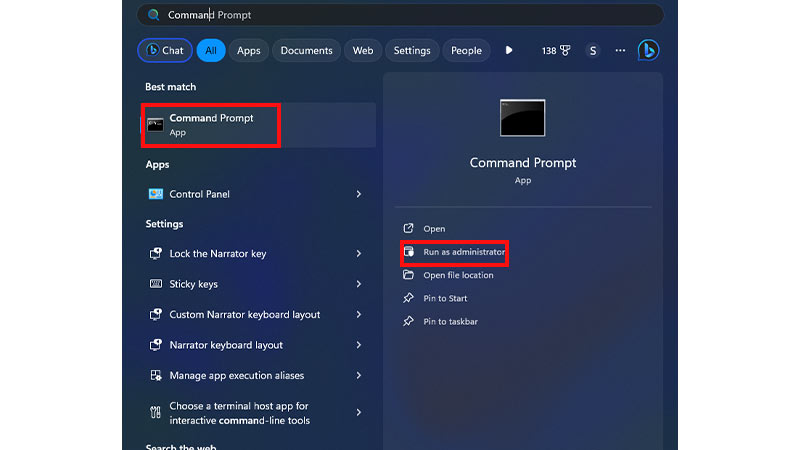
- Search cmd in the Windows Search bar and select Run as Administrator.
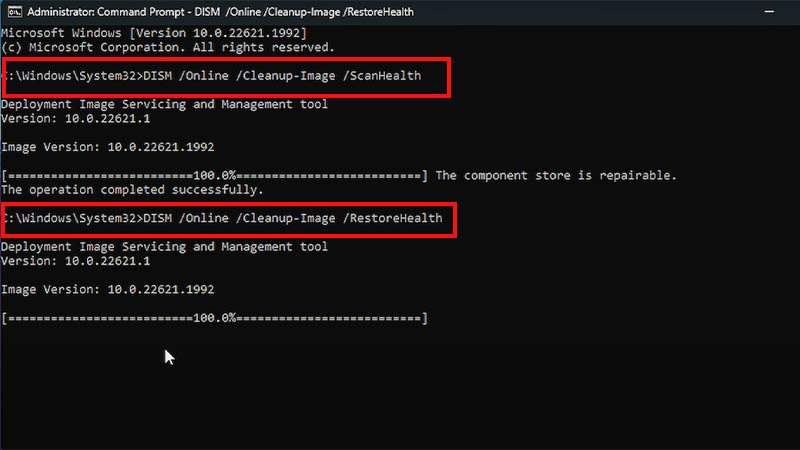
- Run the command given below:
DISM.exe /Online /Cleanup-image /Scanhealth
- Hit Enter. The scan might take some time.
- Then, run the second command:
DISM.exe /Online /Cleanup-image /Restorehealth
- Press Enter again.
Run Windows Memory Diagnostic test on Windows 11
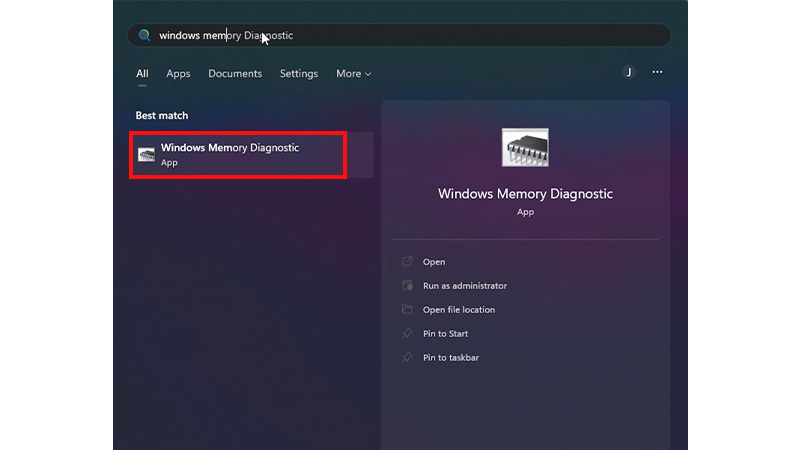
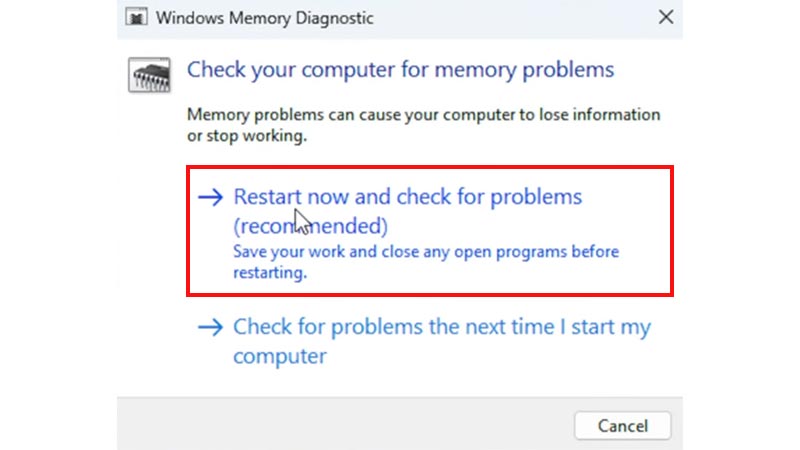
- Click on the Start button and search for Windows Memory Diagnostic.
![Windows Memory Diagnostic - Fix Hypervisor error in Windows 11]()
- Then, select the ‘Restart now and check for problems‘ option.
![Windows Memory Diagnostic - Fix Hypervisor error in Windows 11]()
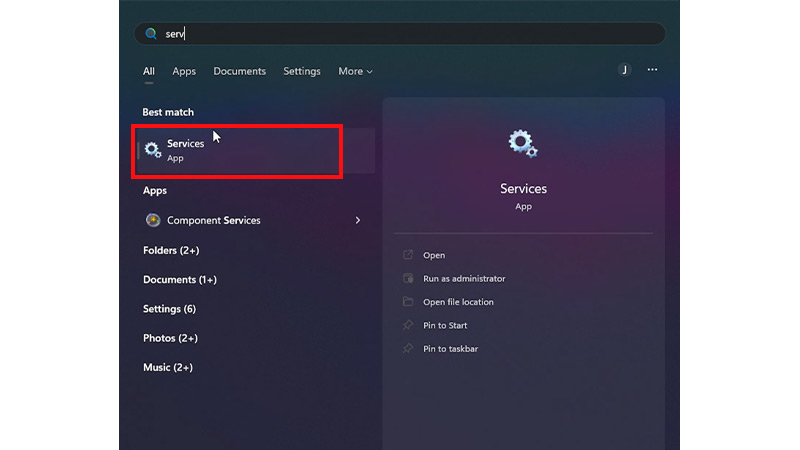
- The Windows Memory Diagnostic tool will diagnose and find the issue in your computer.
- Now, check if the Hypervisor error is fixed in your Windows 11 computer.
Note – Make sure you save all the open files and documents before doing the test.
Restart Hyper-V Services
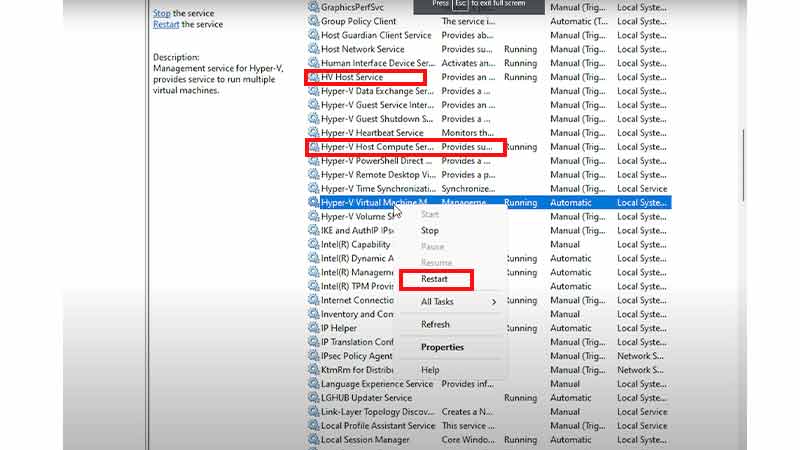
- Press the Windows key and search for Services.
![Restart Hyper-V Services]()
- Scroll down and search for Hyper-V Virtual Machine Management service.
- Then, right-click on it and select Restart.
- Restart Hyper-V Host Compute Service and HV Host service if they are available.
![Restart Hyper-V Services]()
- Reboot your computer to apply the changes.
These were the ways to fix the Hypervisor Error in Windows 11. If none of these ways work for you then the only option left is to Reset your Windows PC. Hope you found this guide helpful. If you found this helpful, then check out our other Windows 11 related guides – Windows 11 Cannot Boot at 4k (3840×2160) Resolution – How to Fix? and Windows 11 Not Turning ON Back from Sleep Mode – How to Fix? only on TechnClub.