Have you installed the latest macOS Monterey on your Mac computers for testing purposes and after using it for a while, you are facing a lot of bugs and unexpected glitches that may have decreased your excitement? Because of all these issues, are you now looking for a way to downgrade macOS 12 to Big Sur? Well, in this guide, we will walk you through the various process on how to downgrade macOS 12 Monterey back to macOS 11 Big Sur in a few steps.
How to Downgrade macOS Monterey to Big Sur
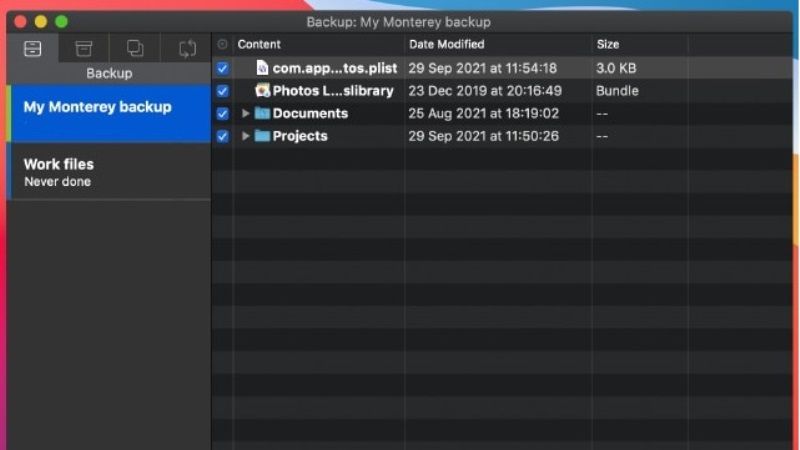
You should always back up your Mac computers first before downgrading from macOS 12 to Big Sur because your hard drive will be erased completely. So, backup your Mac if you do not want to lose your programs, files, documents, etc. For this purpose, you can always use an external hard drive or a cloud storage service like iCloud or DropBox to save your important data. After you have secured your data, follow the steps given below for the downgrade process.
- First of all, make sure that you have 12 GB of free space on your Mac and then download the macOS Big Sur update from the App Store here. Note that you can only download it on Macs and not on Windows computers.
- Connect an external driver or a USB drive. It should at least have 16GB of free space.
- On your Mac computer, open Finder.
- You will find the External Drive under Locations. You have to rename it, so right-click on it and rename it to technclub.
- After that open Terminal on your Macs and copy and paste the command given below in Terminal:
sudo /Applications/Install\ macOS\ Big\ Sur.app/Contents/Resources/createinstallmedia –volume /Volumes/technclub
- Just replace the technclub name with the name of the connected External drive.
- After that, you need to enter your login password in your Mac to proceed further.
- Now the External drive will try to erase, just type Y and press Enter key.
- Wait for the whole process to complete.
- That’s it. This is how you have created macOS Big Sur Bootable Drive for its installation on your Mac.
How to install macOS Big Sur via the External Bootable Drive
- First of all, make sure not to remove the External Drive from your Mac computer.
- After that click on the Apple logo at the top and select Restart.
- Once the restart is taking place, on your Mac Intel model, hold down the Option key on your keyboard until the Startup Disk screen appears.
- If you are using an M1 Mac model, then press and hold the Power button until you see a Startup screen appears.
- Next, choose the Big Sur bootable drive and the installation will start.
- Once the macOS Utilities window appears choose to Install macOS.
- Finally, agree to the Terms & Conditions and then select Mac Disk Partition on which you want to install the macOS 11 operating system.
- Your Mac computer will restart several times and once you are on the Welcome screen, just follow the on-screen instructions and verify the operating system version.
That is everything you need to know about how to downgrade macOS Monterey to macOS 11 Big Sur. While you are here, you might be also interested to know about how to fix screensaver not working in Mac Monterey, or how to fix Mac Monterey cannot be installed on Macintosh HD error, etc.