Do you want to record the screen in Windows 11? Well, this article is all you need to get started. Screen recording can be extremely useful in a variety of scenarios. You might want to record an explainer video for a non-techie friend or capture an unexpected behavior of a Windows application. In various situations, screen recording can be a very valuable and effective tool. So, in this guide, I will explain to you how to screen record on Windows 11.
How to Record Your Screen in Windows 11

Even though Windows provides a built-in capability to record screens, it has significant restrictions that limit its use to specific circumstances. In any case, given the popularity of Windows, there is no surprise that there are a number of third-party applications available. In this tutorial, we will look at some of the best solutions available.
Here are the methods to record your screen in Windows 11:
Record Screen on Windows 11 with Xbox Game Bar
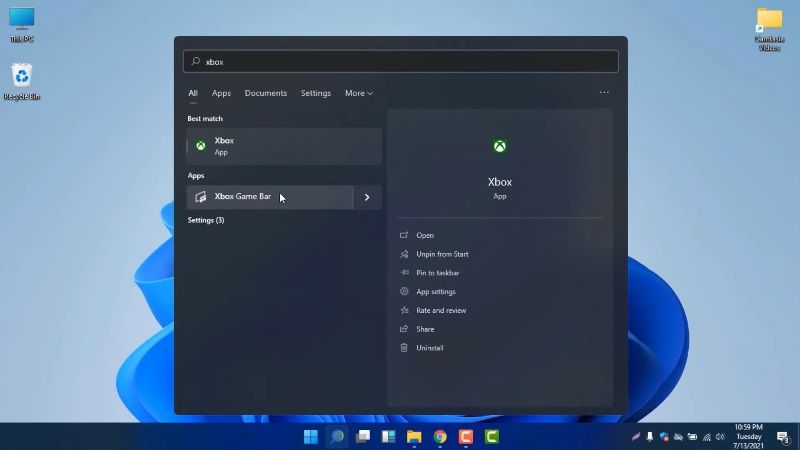
You can use the built-in Xbox Game Bar in both Windows 11 and Windows 10 that offers a variety of features aimed at enhancing yor gaming experiences, for example, easy access to Xbox chat and insight into your CPU performance and GPUs.
In any case, whether you are gaming or not, the most valuable feature of this app is the ability to record MP4 videos. Here are the steps on how to use Xbox Game Bar on Windows 11 for screen recording.
- First, open the program or game that you want to record and select it.
- Next press the Win + G keys on your keyboard together to open Xbox Game Bar.
- Select the Capture option from the game bar which is located at the top part of your screen.
- Now you have to choose the Save button from the Xbox Game Bar. You can find it by using the keyboard shortcut Win + G.
- You will notice that the capture pane and Xbox Game Bar will be minimized once the screen recording has started. You will then be able to see the “Capture Status” which is located on the right side of the screen.
- Next to the red circle, watch the passing time, and then select the Square button to end the screen recording.
- Finally, open the Xbox Game Bar again and select View All Captures to watch the recording, delete it, or open the folder where it is saved on your PC.
And that’s all you need to know about how to screen record on Windows 11. If you are interested in more Tips and Tricks around Windows 11, check out the Windows 11 Guides section only on TechNClub.com.
