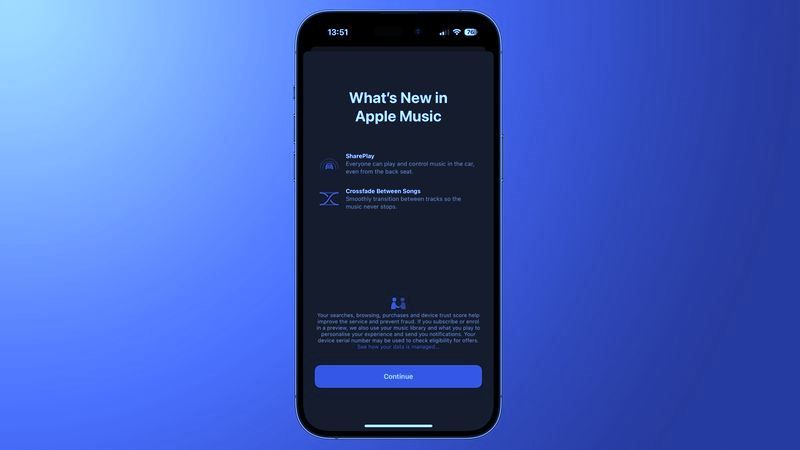
Apple has brought some major changes with the new iOS 17 update. Although iOS 17 is still in the beta stage, it will be available to the public soon. However, the feature that stands out is the one that iPhone users have been expecting from Apple for a long time. The iOS 17 update has added the Crossfade feature to Apple Music. The feature was added pretty late in Apple Music for iPhone users compared to the Mac and Android versions of the app. If you are an iPhone user and want to know how to configure and adjust Crossfade in Apple Music (iOS 17) then check out the guide below.
Apple Music: How to Configure and Adjust Crossfade in iOS 17

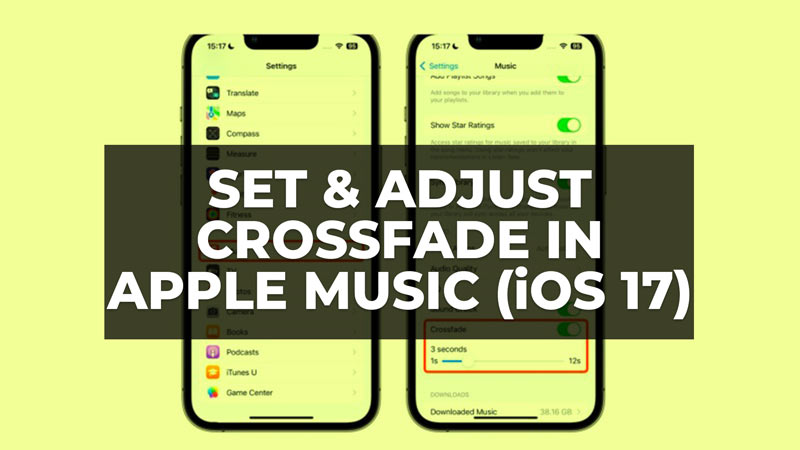
The Crossfade feature added in iOS 17 is a very useful option that makes a smooth transition from one music to another. The feature fades out the current song in the final seconds and fades in the next song in the queue. This takes out the awkward silence that users used to experience in between songs. The method to configure and adjust Crossfade in Apple Music in iOS 17 is very simple. Follow the steps given below:
- Go to Settings on your iPhone running iOS 17.
- Scroll down and select the Music app.
- Then again scroll down to the Audio section.
- Turn on the toggle next to Crossfade.
- The Crossfade slider will show up on the screen.
- Adjust the duration according to your preference by gliding the slider from left to right. The ideal duration suggested is between 5 to 6 seconds.
That’s it, in this way, you can listen to songs on Apple Music with the new Crossfade feature. However, you will have to wait for a few weeks for the iOS 17 final update to launch. Till then you can use the iOS 17 beta version to use the Crossfade feature in Apple Music.
That’s all covered on how to Configure and Adjust Crossfade in Apple Music (iOS 17). If you found this guide helpful then check out our guide on How to Create & Share a Collaborative Playlist on Apple Music on iPhone or iPad.
