Many gamers want to know how to Check RAM Memory Speed in Windows 11? Well, PC enthusiasts and gamers are obsessed with getting the fastest and most powerful hardware components available for their new PC. So, before buying a new computer, a gamer should consider several things like RAM speed, processor speed/cores, SSD, GPU, etc. If we talk about RAM, then 8 GB of RAM is usually enough for regular games and multitasking. However, do you know that RAM speed also decides the overall performance of your computer? So, in this guide, we will provide all this information related to the RAM memory installed on your Windows 11 PC below.
Windows 11: How to Check RAM Speed (2023)
Windows 11 offers a way to check details of the RAM memory installed on the computer, such as operating frequency or speed and slots used, without having to install third-party software for this or access the computer’s BIOS/UEFI. The user just needs to access the Task Manager or Command Prompt and follow the steps below to check all the information about their installed RAM modules.
1. Check RAM Speed in Windows 11 via Task Manager
- First of all, you need to open the Task Manager in Windows 11, so just right-click on the Start button and click on Task Manager. Another method to open the Task Manager is using the keyboard shortcut keys of Ctrl + Shift + Esc.
- If Task Manager is being opened for the first time, you may need to click on the More Details option.
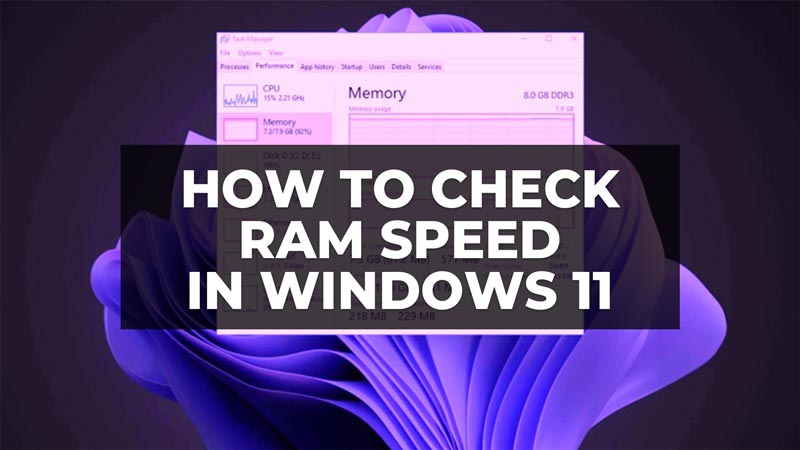
- With Task Manager open, click on the Performance tab and select the Memory option.
- At the top, you can see the amount of RAM installed and at the bottom, you can see details like the amount of memory in use, frequency (speed), and more.
- If you place the mouse cursor over the Used Slots option, you can see exactly which slot each RAM memory module is installed in.
2. Check RAM Speed using CMD
- In the Search bar, type Command Prompt and right-click on it from the list, then select “Run as administrator”.
- A new CMD window will open in admin mode.
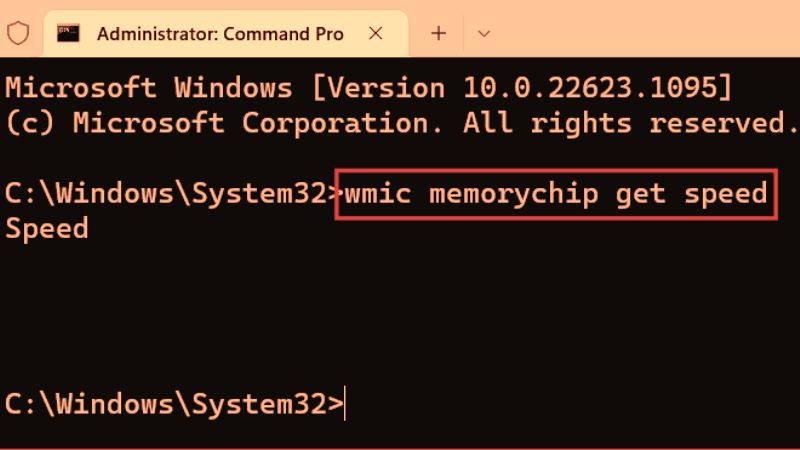
- Here you need to type the following command:
wmic memorychip get speed - Then press the Enter key.
- Finally, you will be able to see the RAM speed for each module installed on your Windows 11 PC.
That’s everything there is to know about how to check RAM speed in Windows 11. If you are searching for similar types of guides, check out our other articles only on our website TechNClub.com: How To Fix “RAM Not Detected” Error, and How to Increase Dedicated Video RAM (VRAM) in Windows 10 & 11.