There are many users with various Macs, including the early 2009 Mac mini with macOS El Capitan which still works great. However, no devices remain intact for a long time and there could be some problems with this Mac too. So, if you already have an iCloud storage space that you might be using to save all your important files, you might also be wondering how to back up your entire Mac computer to it. In this guide, we will tell you how to backup your Mac computer to iCloud in the easy steps below.
How to Backup Your Mac to iCloud (2023)

If you have already registered your Apple ID, you can get 5GB of free iCloud storage free from Apple. This iCloud drive you can use easily to backup your Mac computer. Also, if you want, you can upgrade the iCloud anytime you want to get more storage space.
So, to back up your Mac to iCloud, you have to sync your macOS to the storage space of the iCloud drive provided by Apple, and here’s how you can do that:
- First, click on the Apple logo at the top of your Mac computer.
- Then click on System Preferences > iCloud.
- Sign in with your Apple ID and password if prompted.
- Now, select the different files or data that you want to add to the iCloud backup, for example, photos, videos, emails, etc.
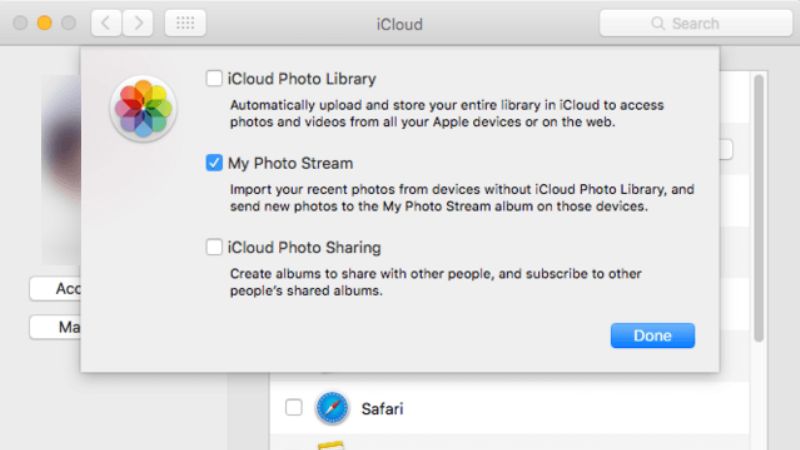
- After that, you will come across a screen where you can also configure other files, for example, the iCloud Photo Library, and set up the way you want to back up your photos on iCloud.
- Then select iCloud Drive.
- From your Mac, drag and drop the data or files you would like to backup on iCloud.
- Once you have set up the iCloud Drive, all the data saved in the iCloud will be moved to iCloud Drive.
- That’s it, in this way, you have just backed up all your selected files and data to iCloud from your Mac computer.
That is everything you need to know about how to back up Mac to iCloud. If you are searching for more Mac Troubleshooting Guides, check out our other articles only on our website TechNClub.com: How to Disable App Store Password on iPhone, iPad & Mac, and How to fix PKDownloadError Error 8 on Mac.
