A gamertag is very important no matter what platform you are on as it helps others when adding you as a friend, inviting you to play together, and more. However, at one point almost everyone has used a name that they feel like changing. Be it because you were young or edgy or have grown out of it. Luckily, in Xbox, the process to change your gamertag is very easy. So here is how both methods for it work.
How to Change your Xbox Gamertag
There are two ways you can change your Xbox Gamertag, one is using a browser, and the other is directly from your console.
Changing it from Browser

- Go to the Xbox Social Gamertag page.
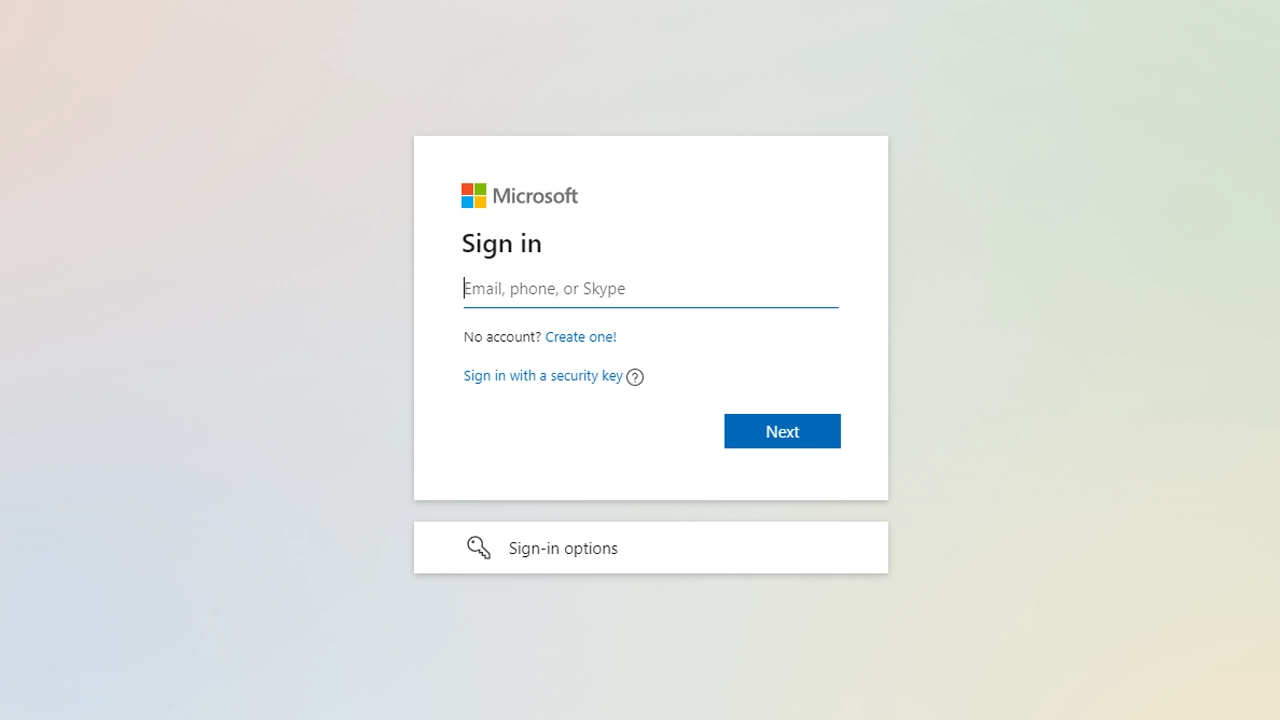
- Sign in to your Microsoft account that you use for your Xbox.
- On this page, you will see your current gamertag.
- Enter your new gamertag in the textbox below.
- The name you use can be up to 12 characters long and can have spaces. Do remember that it can’t start with numbers.
- Once done, click on the green “Check availability” button.
- Next, the site will show how your gamertag will appear in different Xbox services.
- Click on the Claim it button if you are alright with it.
The best part is since it requires only a browser you can even follow the above steps on your phone and do it on the fly.
Changing Gamertag from Xbox One or Series X|S

- Start your console and press the Xbox button on your controller.
- Press RB to go to the Profile & System.
- Click on your Account and choose My Profile.
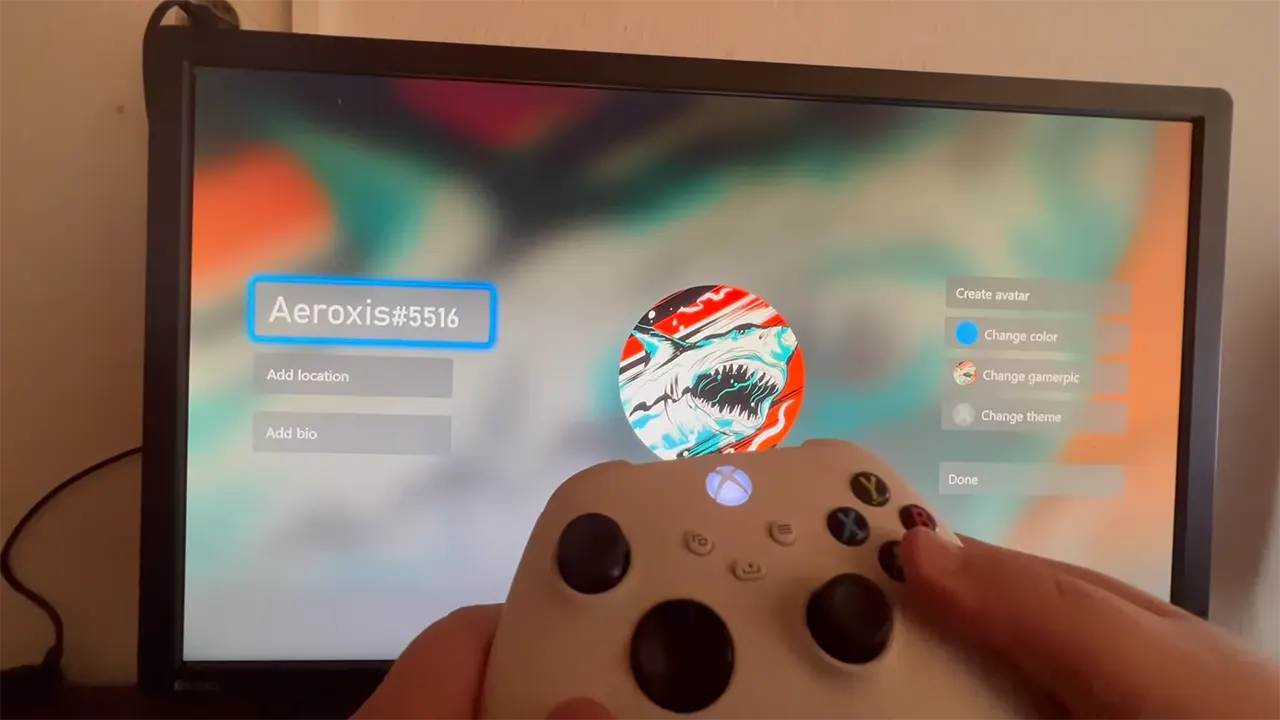
- Here, click the Customize Profile option.
- Next, click on your existing Gamertag.
- It will now bring you to the “Choose your new gamertag” screen.
- Enter the new gamertag that you would like to use.
- Next, click on the menu button on your controller.
- Finally, click on the “Change gamertag” button. It will ask for confirmation, confirm it and it will change.
That is all about how you can change your Xbox gamertag. Speaking of Xbox, if you use custom controllers and stuff and happen to be facing issues with them, then check our guide on the connected accessory is not authorized fix.
