
Many users who have recently upgraded to Windows 11 are having Wifi not working issues on the new operating system of Microsoft. It is always good to avoid a new version of the Windows operating system for a few days. You will always require a stable internet connection on your PC whether you are looking to play games or watch movies. Therefore, in this guide, I am going to explain how you can fix Wifi disconnecting issue on Windows 11 below.
How to fix Wifi Disconnecting Issue on Windows 11?
If you have already installed the latest version of Windows 11, but notice that the Wifi is down, or Windows 11 will not connect to Wifi or the network, or just Wifi is not working, then check the steps given below that will help you to solve the issue by applying the most suitable workarounds listed below.
Method 1: Troubleshooting Internet Connection on Windows 11
You can start the troubleshooting tool to fix the Wifi network in Windows 11 by running the Internet Connection Troubleshooter. Follow the steps given below:
- First of all, press Windows+I keys together on your keyboard to open the Settings app.
- After that go to System > Troubleshoot > Other troubleshooters.
- Now, in the Most Frequent menu, you need to find Internet Connections and click on it.
- Windows will try to fix the issue for you automatically. If the issue is not resolved then follow the next method given below.
Method 2: Activate Connect Automatically on Windows 11 When in Range
You can also try to turn on Connect Automatically when in range option on your Windows 11 computer, follow the steps given below.
- First, you need to open the Settings app.
- After that, go to Network & Internet menu.
- Now you have to choose Wifi > Wifi connection properties.
- Next, simply tick-mark the Connect automatically when in range option.
- That’s it, just exit the settings.
- Check if the problem is resolved. Otherwise, you can try the next solution below.
Method 3: Forget and reconnect Wifi on Windows 11
You can also use the Forget and Reconnect Wifi option on your Windows 11 computer. This method has saved millions of users on Windows 11. Check the method given below.
- First of all, you need to click on the Wifi icon in the Taskbar.
- After that, expand the Wifi menu by right-clicking on your Wifi name.
- Now, simply select the Forgot option listed in the menu.
- That’s it. Now try to connect to the same Wifi connection with your credentials.
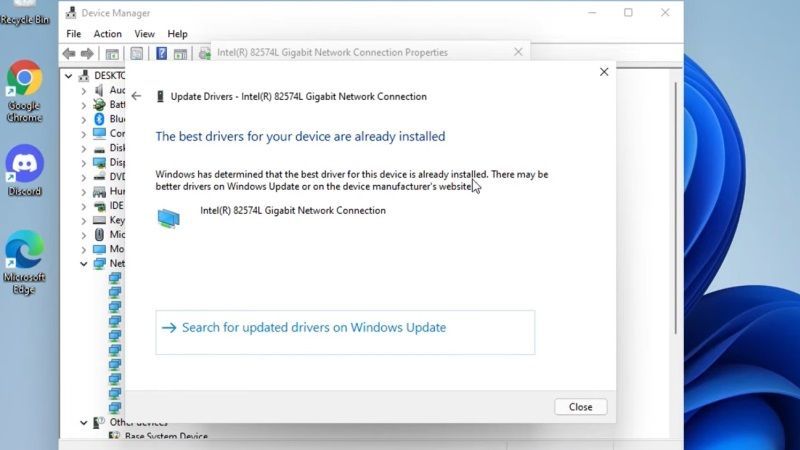
Method 4: Reset Network Adapters on Windows 11
This workaround will require you to reset Network adapter settings. Here’s how to do that:
- First, you need to open the Settings app.
- After that, go to Network & Internet option.
- Now you have to scroll down and click on the Advanced network settings.
- Again, scroll down and click on Network reset.
- Finally, click on the Reset now option.
- It will reinstall the network adapters and reset the main network components to their default state.
That is everything you need to know how to fix a disconnecting Wifi issue on Windows 11. If you are interested in getting more information on Windows 11, check our other Windows 11 Troubleshooting Guides right now.