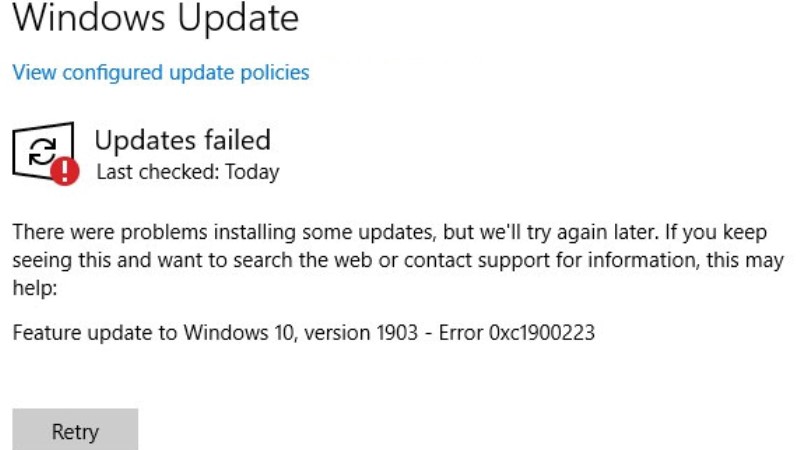
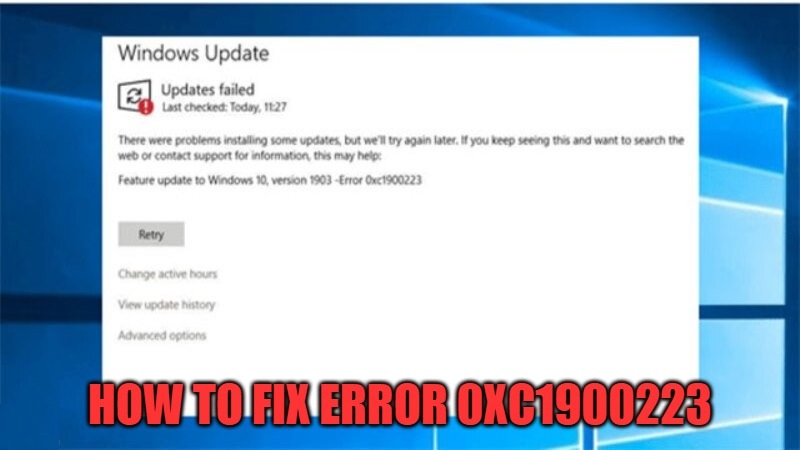
The error 0xc1900223 is a strange bug that could happen when you try to update your Windows 10 operating system. This error usually happens when the Update service in Windows 10 gets stuck all of a sudden. The error 0xc1900223 can be easily solved by selecting the Windows Update Troubleshooter. Apart from that, we have listed alternate methods to solve this issue. Follow the step-by-step procedure given below to fix error 0xc1900223.
How to fix 20H2 Feature Update Error 0xc1900223 in Windows 10?

In this article, we will show you how to fix the error 0xc1900223 in Windows 10. The error 0xc1900223 happens on your computer if it is not able to connect to the Microsoft Update servers.
This problem could also occur if the Microsoft server addresses are blocked by a program that automatically writes to the Windows HOSTS file. Follow the below steps to solve the 20H2 Feature Update Error 0xc1900223 in Windows 10.
Try using the default Windows Update Troubleshooter:
- On your keyboard, press the Windows + I buttons at the same time to open Settings.
- Select the Update & Security and then at the left pane select Troubleshoot and then Windows Update.
- Click “Run the troubleshooter.” It will run for some time and in the end, a new window will open saying “Troubleshooting has completed.”
- You need to check the problems found here.
- You will see a green tick mark if the problem is solved.
- If you get a red tick mark, the problem is not solved. Check more solutions given below.
Try to rename your HOSTS file:
After using the Windows Update Troubleshooter, if you are still getting a red tick mark, then try renaming the HOSTS file to fix Error 0xc1900223 in your Windows 10 computer.
- First of all, open this folder – C:\Windows\System32\Drivers\Etc.
- Search for the HOSTS file and rename it to HOSTS.OLD. You will need administrator privileges to rename the file.
- After that open a Command Prompt in admin mode and type the command given below to clear Windows DNS cache:
ipconfig /flushdns - Now try to install the Windows Updates again.
- After the Windows Update is completed, rename the HOSTS.OLD file to HOSTS again.
- Also, make sure that the HOSTS file is not blocking the Microsoft Update server addresses.
If the above solution still doesn’t work then download the latest version of Windows 10 from this link. Currently, you can see the Windows 10 operating system version listed as May 2019 update. However, after downloading it, the Update Assistant will guide you to install the latest version of Windows 10.
That is all you need to troubleshoot Error 0xc1900223 in Windows 10. Also, you can download Windows 11 Build 22449 which is available now ahead of its release date.
