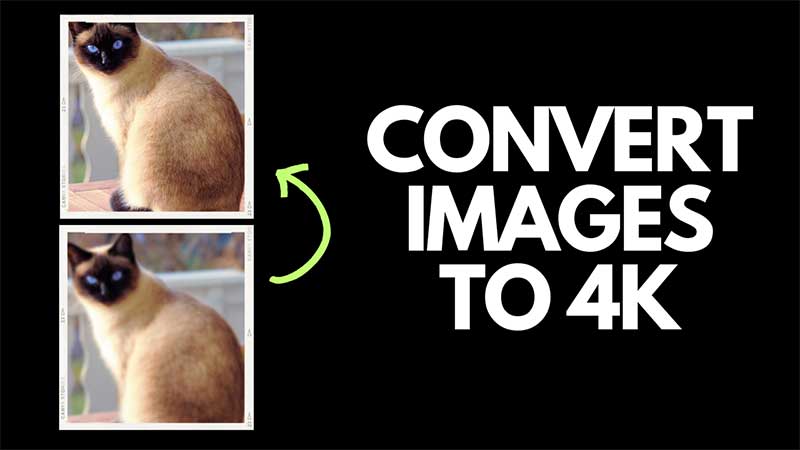
You can convert low-resolution images into 4K resolution in Adobe Photoshop without losing their quality. It is done via Super Resolution Plugin, allowing users to Re-Sample low-resolution images and convert them into 4096 x 2160 pixels. This is done via Lightroom, by importing a standard photo and then running the Enhance feature. Photoshop will take some time depending on the system a user has. A high-end system can process this faster than a medium or low-end PC. You will need Photoshop v.22 or higher to convert any image to 4K in Adobe Photoshop.
How To Covert Any Image To 4K Image In Photoshop?
Adobe Photoshop can resample images to a high resolution via image size adjustment. If you are image is very small then convert it into Super Resolution using Adobe Lightroom. The steps for the same are below, and then you can convert it to a 4K image without losing the quality.
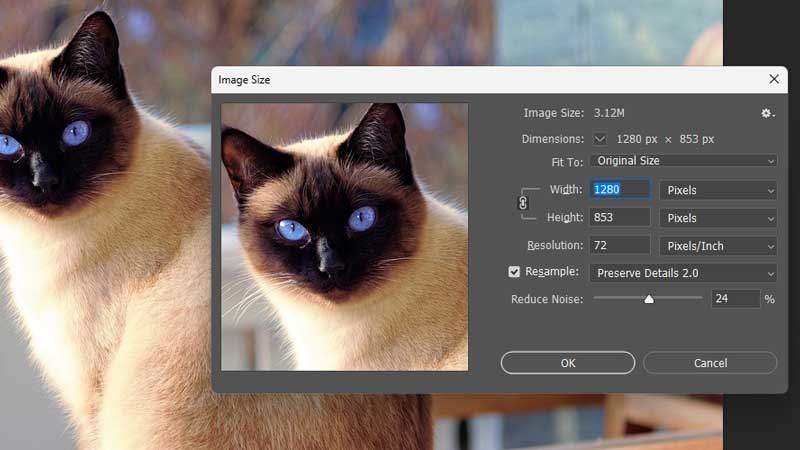
Open the Image in Photoshop by clicking on File > Open and select the image. Once it is visible in Photoshop click on Image > Image Size. You can also press Ctrl + Shift + I to open the Image Size adjustment box. Just check Pixels are selected as the option next to Width and Height. Go to the Resolution tab and type 200 or 300 or 500. The resolution will be visible in the size dialog box. Look for something near 4096 x 2160 pixels and click on Ok.
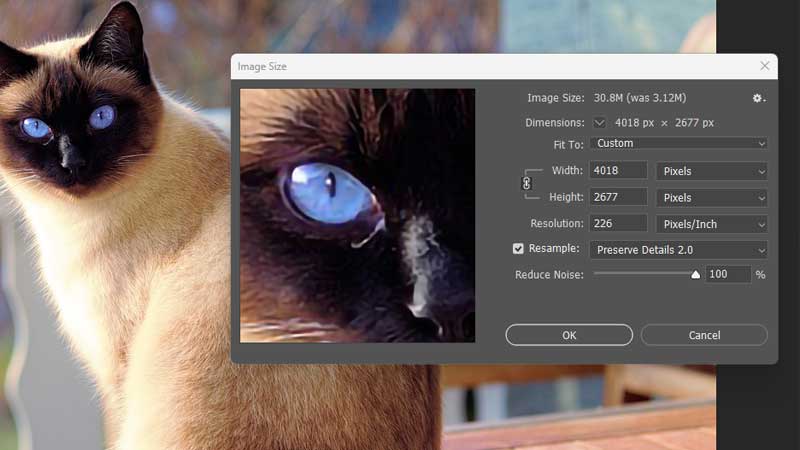
In our test Resolution – 226 is somewhat near to 4k output. Click on Ok and then click on File > Save As. Just save the file in jpg format and done. While saving set the quality to the max to get the best image resolution. Photoshop really does a good job of exporting the image to a high resolution. If the image is too small and things are blurry then convert it to Super Resolution first via Lightroom and then repeat the above process.
How To Convert Images To 4K using Super Resolution?
You will need Adobe Lightroom for converting low-quality images to high-4k standards. This can be done via Photoshop also, but the quality of Lightroom is much better and it is easy to convert. You can also download an Adobe Lightroom Trial to test this feature.
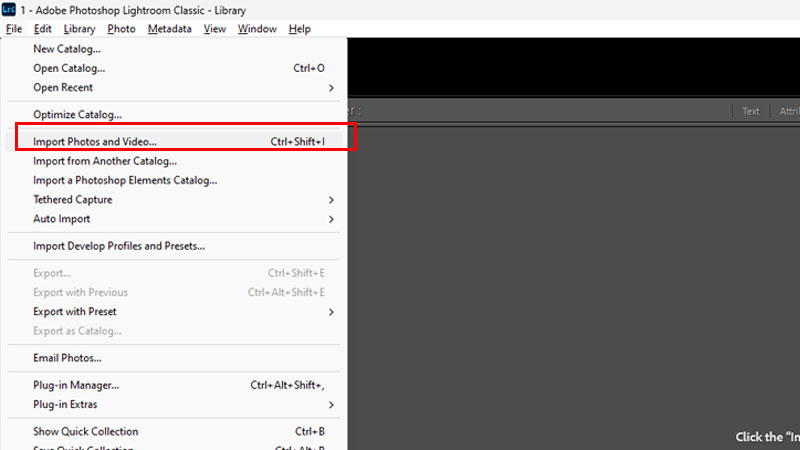
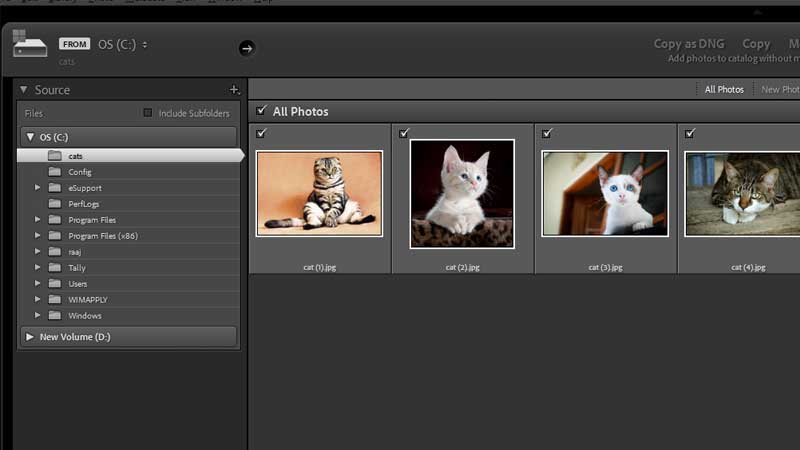
Launch Adobe Lightroom and click on File > Import Photos and Videos. Select the location of the image from the Source section on the left. Just select the folder where the image is stored and Lightroom will open it up. Select any one image that you want to convert into the 4K image. The above are all of the standard size – 1280×853 and approx 220kb in size.

Click on Import to proceed to the next step. Once the image is imported double click on it to maximize. Right-click on the image and click on Enhance. The shortcut of the same is Ctrl + Shift + I. Add a tick on Super Resolution and click on Enhance. Adobe Lightroom will do its calculation and enhance the image quality. The image of a 200kb will increase above 15-16MB via this conversion process. Here the exact 4K resolution is possible if the image size is big enough or else you will get a Full-HD output.
What Is Super Resolution in Photoshop?
Super Resolution is a plugin that can convert any standard image into a high-resolution 4K image. The size of the image after conversion will be 4096 x 2160 pixels. The issue with this plugin is that it will work only with raw files. So if you are trying to convert a jpeg or png image to 4K directly it will not work. You will have to first convert the same to a RAW file if do not have Lightroom. Otherwise, just import the image in Lightroom as shown in the above steps and right-click on the image. Click on the Super Resolution box and wait for Photoshop to process the image.
How To Convert Any Image To 4k without Photoshop?
You can convert any image to 4k using a 4K image convertor. There are online websites as well as software that does this. These tools do not guarantee the quality, so trying multiple will help. In comparison to these free image convertors, Photoshop still is the best option to get the best 4K images.
