
The Snipping Tool on Windows 10/11 is really useful but it still lacks something important. Users worldwide are curious to know the ways to annotate a snip in the Snipping Tool. Can you add text to an image in the Snipping Tool? Users have been searching for the answer to this question for a long time. Adding text to any screenshot on Windows is not that difficult of a task but, unfortunately, the Snipping Tool has no direct options for it. Don’t worry, there are some workarounds that you can use to insert text in Snipping Tool. Let’s get started.
How to Annotate Screenshots in Snipping Tool (2023)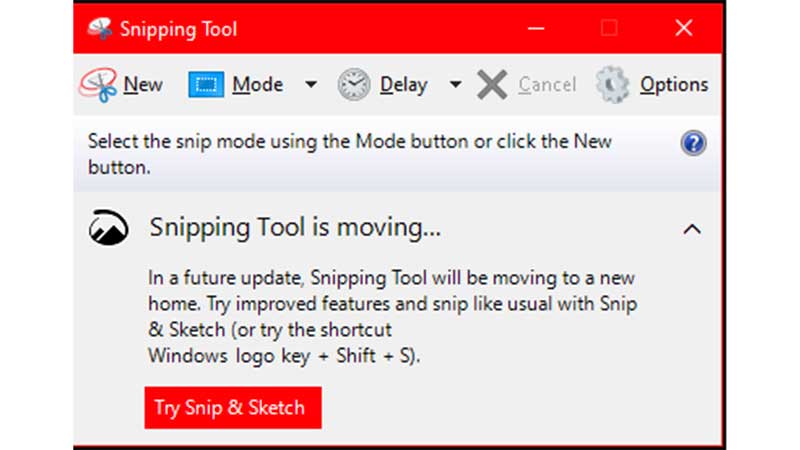
The Snipping Tool, by default, has no way to add texts to the images but, we have found two different methods that will let you write on snips in the Snipping Tool. We have mentioned both these methods right below:
Method 1: Add Text in Snipping Tool Using Paint
- Press the ‘Windows + Shift + S’ shortcut keys to open the Snipping Tool.
- Click and drag the mouse to select a snipping area.
You will see the ‘Snip saved to clipboard’ notification. - Click the Start icon and search for the Paint app.
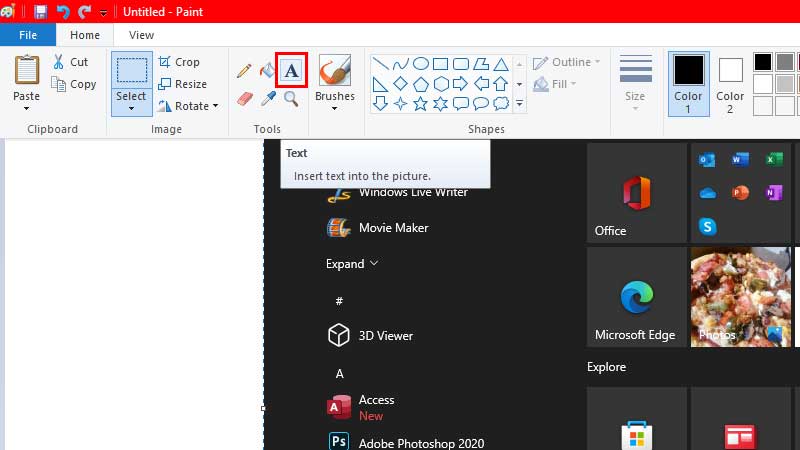
- Open the Paint app on your Windows 10/11 PC.
- Press the ‘Ctrl + V’ keys to paste the screenshot.
- Now, make sure that the ‘Home’ tab is selected on the Paint app.
- Click the ‘A’ icon in the ‘Tools’ section. This is the ‘Text’ icon.
- Click the area where you need to add text to the screenshot.
- Start typing.
- You can also move the text box anywhere on the image by simply clicking and dragging it.
- Click the ‘Text’ tab to change the font, color, and other attributes of the text.
- Click any empty space when done.
- Next, either save the image by pressing ‘Ctrl + S’ or use the Snipping Tool to take a screenshot of this image.
Method 2: Add Text in Snipping Tool Using Powerpoint
- Take a snip using the Snipping Tool as explained earlier.
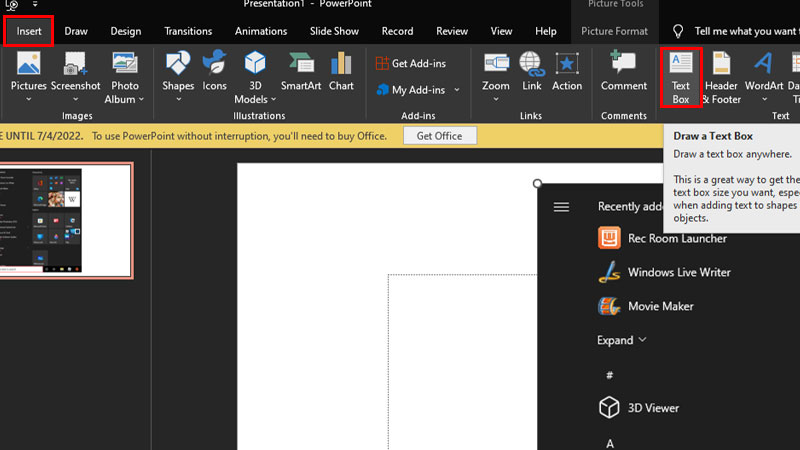
- Open Windows PowerPoint from the Start Menu.
- Press ‘Ctrl + V’ to paste the snip to the slide in PowerPoint.
- Switch to the ‘Insert’ tab at the top.
- Click ‘Text Box’ in the ‘Text’ section.
- Click anywhere on the image where you need to insert text.
- Edit the text’s color, size, font, etc. from the ‘Home’ tab.
- Click anywhere outside the text box when done.
- Again, you can either save the whole slide or just take a snip of the edited image.
So, these are both of the methods to insert text in the Snipping Tool. Even though these methods are a bit lengthy, they’re still better than normal screenshots if you need text on an image on your Windows computer. Here are some other guides from us on similar topics: How to Fix Snipping Tool Not Working in Windows 11 and How to Take Screenshots in Windows 11.