
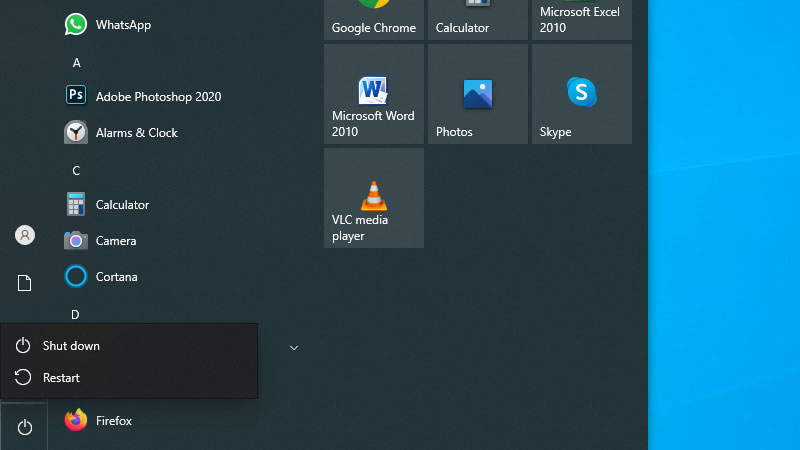
Sleep is a better option if you want to give yourself and your PC a break from work for a while. This feature helps users to save power and time as they need to press a button and log in to their account and not wait for a complete startup of their computer. But sometimes this option is not visible, and this is quite frustrating if you use sleep mode constantly. If you want to restore it then today, in this article, we will try some tricks to restore the Sleep option missing in Windows 11/10.
Tips and Tricks on How to Restore Sleep Option Missing in Windows 11/10
There are many reasons behind Sleep mode missing from your computer. If you are facing the same issue then you can try the below-mentioned tricks to restore Sleep mode on your Windows 11/10 PC.
Update Windows
Windows generally disable some features like Sleep mode, if you have not updated your Windows 12/10. The reason behind this is some bugs that can be removed after updating to its new security patch. So, if you want to update your windows then follow these steps.
- Open the “Settings” app by clicking on the Windows logo or pressing the “Windows + I” keys together.
- Go to the “Updates and Security” section.
- On the top, click on “Check for updates”.
- After this windows will scan for any updates available and download and install the update automatically and ask you to restart your computer.
After your system restarts check if the Sleep option is available in the Power menu.
Enable Sleep from Control Panel
If Windows has automatically disabled the Sleep mode on your Windows 11/10 PC, then try the following method to solve this issue.
- Press the “Windows + S” together, to open the search menu.
- In the Search bar type “Control” and click on the first result to open the “Control Panel”.
- Now, in Control Panel, select the “Hardware and Sound” section and then select “Power Options”.
- In the left pane, select “Choose what the Power Button Does”.
- To enable the options, click on “Change settings that are currently unavailable”.
- Now, check the box besides the Sleep.
Close or minimize the window and check whether the Sleep option is available in the Power menu.
Reset Your Power Plan
If the Sleep mode is still missing then you can try resetting the Power Plan of your Windows 11/10 PC by following the steps given below:
- Open “Command Prompt” by searching from the search bar or by pressing the “Windows + R” and typing “CMD” and then pressing Enter key.
- In the “Command Prompt” type “powercfg -restoredefaultschemes” without quote and hit Enter key.
- After the command execution is complete restart your PC.
After the reboot, check if the Sleep option is available in the Power menu.
Run the Troubleshooter
Last but not least, you can run the Troubleshooter by following this workaround to fix the Sleep option missing in Windows 11/10.
- Open the “Settings” app from the “Start menu” or by just simply pressing the “Windows + I” shortcut key.
- Click on the “Update and Security” tab.
- In the left pane click on the “Troubleshoot” option.
- You will find “Additional Troubleshooter” as the last option, click on it.
- Find the “Power” and click it to run the Power Troubleshooter.
- In the dialogue box click on the “Next” tab to start the Troubleshooter.
Wait for the Troubleshooter to run the diagnostic and fix the problem. Now, check the status in the Power menu. You can directly open the Troubleshooter by pressing the “Windows + R” keys together to open the “Run” command and typing “msdt.exe/id PowerDiagnostic” without quotes and pressing Enter key.
This is all you need to know about how to restore the Sleep option missing in Windows 11/ 10. If you are facing an error code 740 on your computer, then here is a separate guide on How to fix Error 740 while adding a printer on Windows 10/11.