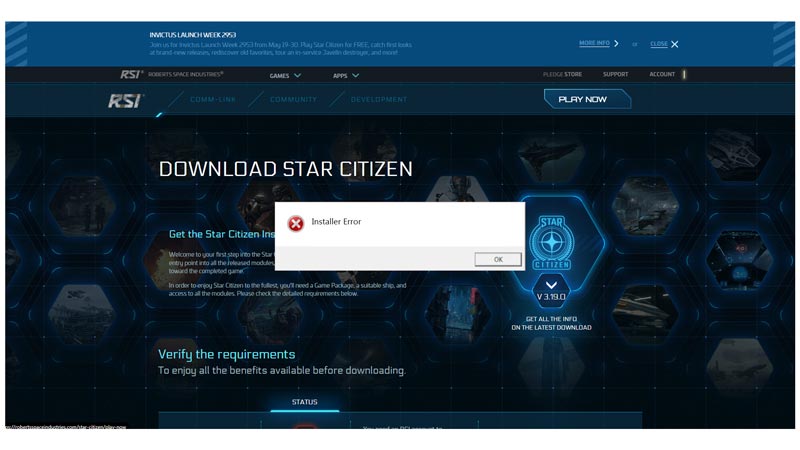
Star Citizen a space simulation game has a pretty long installer file making it vulnerable to many minor issues. Commonly, users face the installer error while updating their game. This error can prevent you from enjoying the immersive space simulation game and cause frustration. However, you can fix this issue and play Star Citizen on your Windows 11 without any interruption with the help of this guide.
How to Fix the Installer Error on Star Citizen on Windows 11?

The Installer Error in Star Citizen can occur for various reasons, such as:
- Corrupted data in the USER folder – This is one of the most common causes of this error. The USER folder contains your game settings, keybindings, and preferences. If this folder gets corrupted or outdated, it can interfere with the installation process and cause an error.
- APPDATA junk files – The APPDATA folder stores temporary files and cache data for various applications on your PC. Sometimes, these files can accumulate and take up too much space or conflict with other programs. This can also affect the Star Citizen installer and trigger the error.
- Improper game installation – If you have installed Star Citizen in multiple folders or drives, or if you have moved or renamed some of the game files, this can confuse the installer and cause an error. The installer expects to find all the game files in one location and their original state.
Hence, depending on the cause of the error, different methods can help you fix it and install or update Star Citizen successfully as mentioned below:
1. Delete the USER folder
As mentioned above, corrupted data in the USER folder can cause this error. To fix this, you need to delete this folder and let the game create a new one with fresh data, here’s how you can do it:
- Firstly, navigate to the location where you installed Star Citizen from the File Explorer. For example, if you have installed the game on C drive, go to C:\Program Files\Roberts Space Industries\StarCitizen\LIVE
- Then locate and delete the USER folder.
- Now shut down your PC and restart it.
- Then open the RSI Launcher and log in with your credentials.
- Try installing or updating Star Citizen again.
2. Clear APPDATA junk files

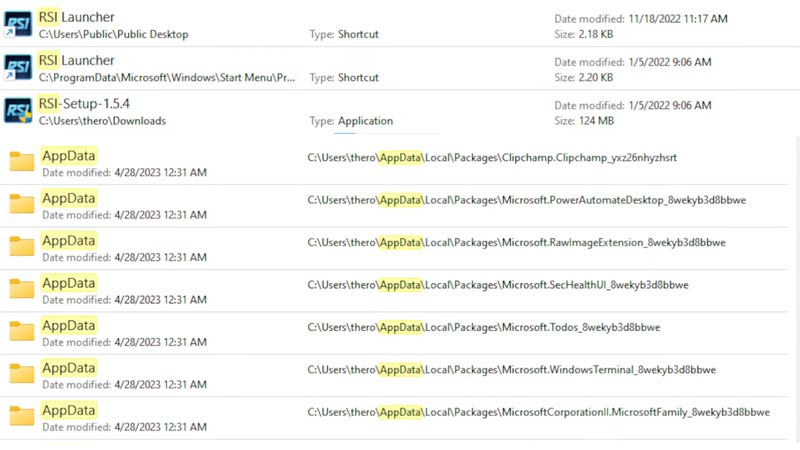
Another possible solution is to clear the APPDATA junk files that might be taking up space or causing installer error on your Windows 11 desktop and here’s how you can do it:
- Firstly open the Run dialog box by pressing the ‘Windows’ + ‘R’ keys and type ‘%appdata%’ without quotes.
- Now press the ‘Enter’ key to open the APPDATA folder.
- Locate and delete any folders related to Star Citizen or RSI Launcher.
- Then go back to the Run dialog box and type ‘%localappdata%’ without quotes.
- Press the ‘Enter’ key to open another APPDATA folder and delete any folder related to Star Citizen or RSI Launcher.
- Finally, restart your PC and try updating Star Citizen again.
3. Install Star Citizen in one folder
If you have installed Star Citizen in multiple folders or drives, or if you have moved or renamed some of the game files, you need to install Star Citizen in one folder and keep all the game files intact. To do this, follow these steps:
- Uninstall Star Citizen and RSI Launcher from your PC using Control Panel or Settings app.
- Delete any remaining folders or files related to Star Citizen or RSI Launcher from your PC using File Explorer.
- Download and install RSI Launcher from the RSI official website.
- Open RSI Launcher and log in with your credentials.
- Choose a single folder or drive where you want to install Star Citizen and make sure it has enough space.
- Also, make sure the file is in ‘NTFS’ formatted.
- Finally, install Star Citizen using RSI Launcher and wait for it to finish.
Those were the few ways to fix the Star Citizen Installer error on Windows 11. Also, check out our other guides, such as How to fix “the installer failed to properly install this driver” error or How to fix the Minecraft Launcher “Install Failed (0xUnknownAppInstall)” error.
