It is always better to cross-check everything before starting any meeting or a video. We should check the camera angles, lighting, and the final thing microphone. No matter how good your headphone or microphone is you should check the connectivity with your Windows 10 computer. If you don’t know how you can check your microphone then here is a guide on how to test the microphone in Windows 10.
Steps to Test Microphone in Windows 10
It is always important to test your device’s microphone before using it. You can test your microphone either from the meeting app itself or from the Windows utility apps. Both these methods are discussed in detail below.
Testing Microphone with Windows Utility
You can test your Microphone from the Taskbar of Windows 10 by following this workaround:
- Navigate your cursor to the “Speaker” icon and right-click on it.
- Now in the pop-up menu, select “Open Sound Settings“.
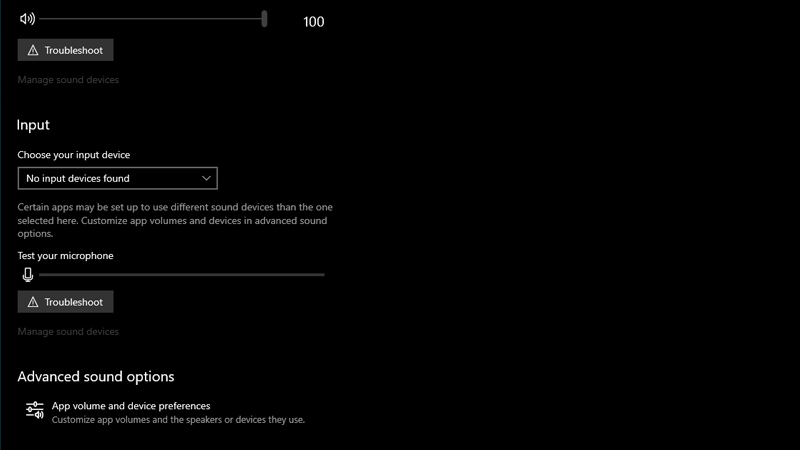
- In the next window, you will see a bar with the name “Test your microphone“.
- Here, say some words and check whether the bar is moving or not.
- If the bar is moving then your Microphone is working properly. If the bar is not moving then click on “Troubleshoot” to fix the issue.
You can also test the microphone from the Settings app by going to Ease Of Access > Audio > Change Other Sound Settings > Recordings > Configure and then Start Speech Recognition.
Testing Microphone with Meeting Apps
If you have already opened the Meeting app then you can test your microphone by simply joining the meet before the time of your meeting and then clicking on test microphone and camera. (the names may differ for different apps).
This is how you can test your Microphone in Windows 10. If you don’t know how to turn off audio in Zoom Meeting app then here is a guide on How to Mute/Unmute Yourself on Zoom.